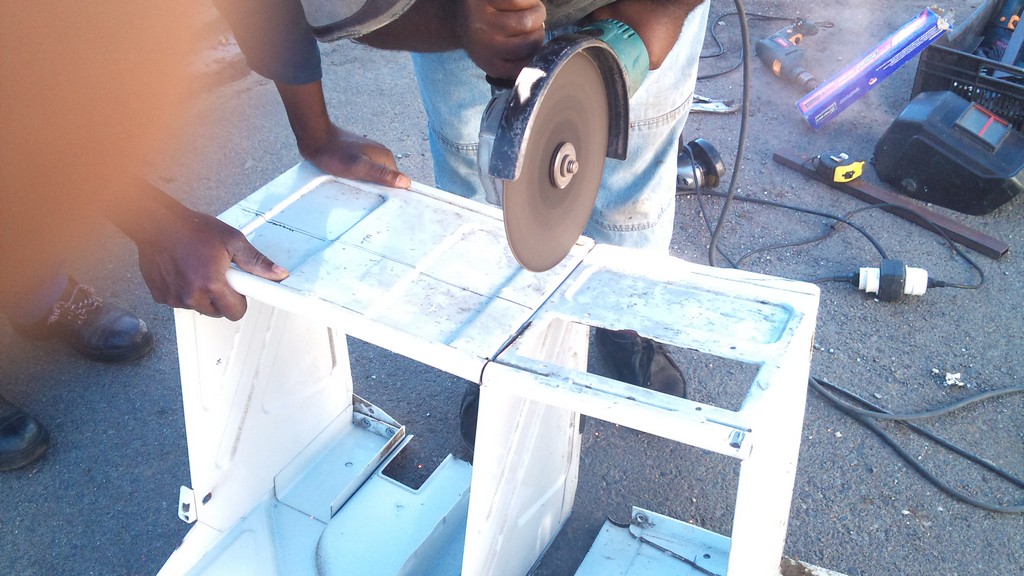
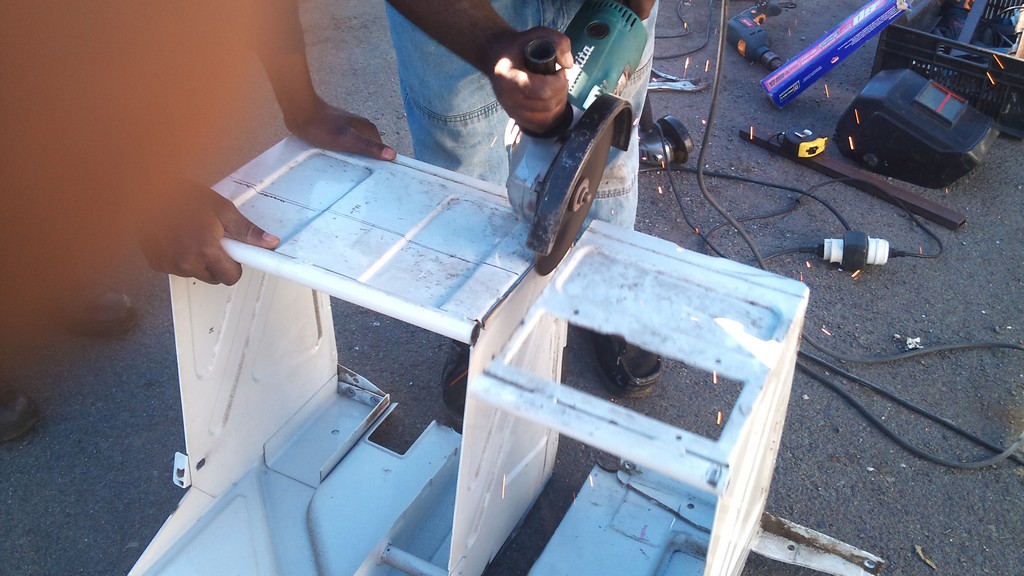
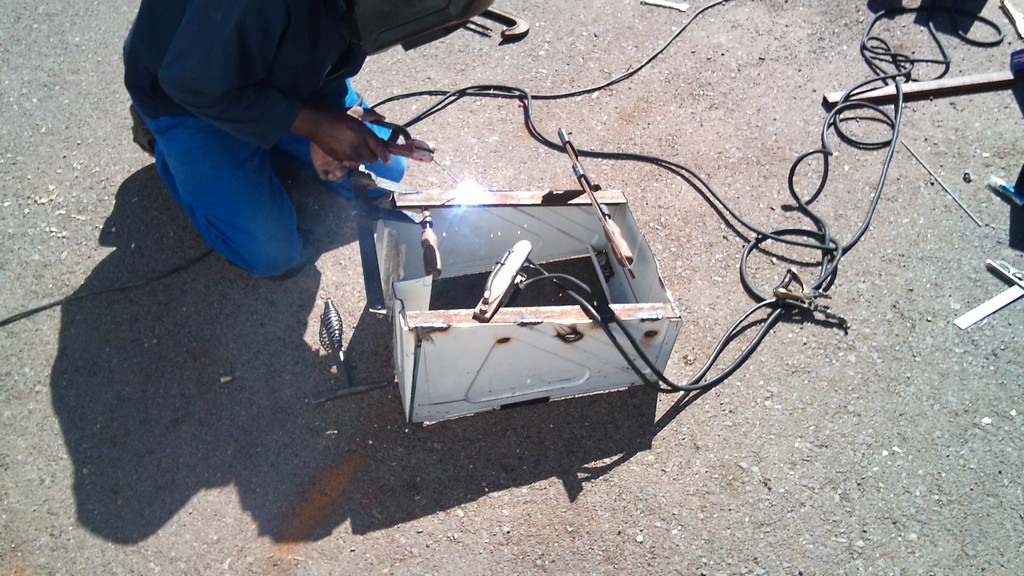
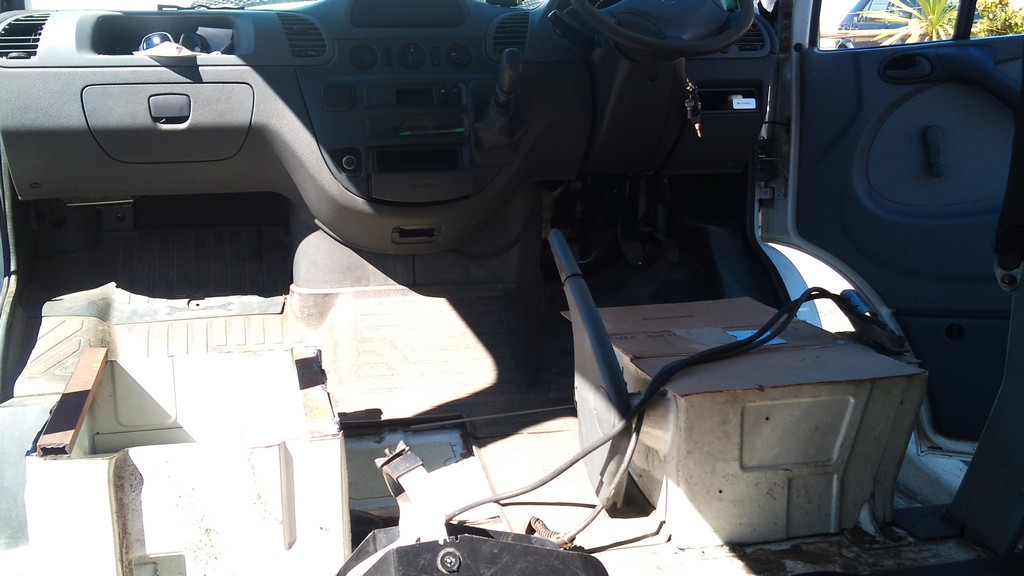
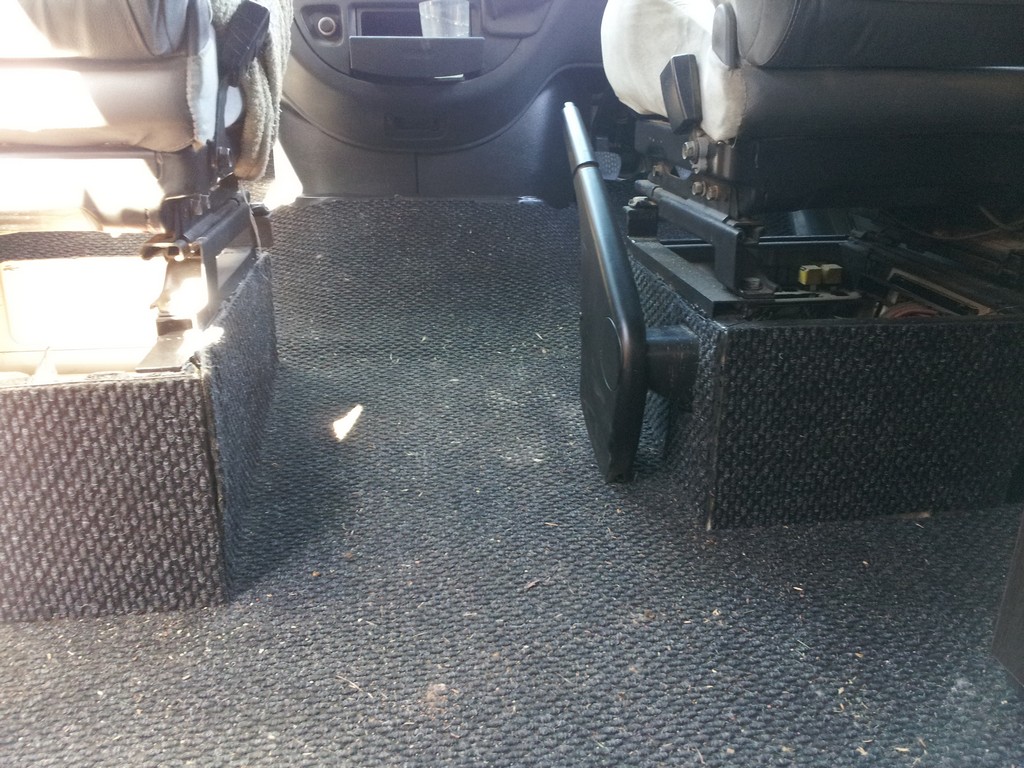
Removing the Seats
I wanted to remove the standard double and single seats from the van and replace them with two single seats so I could walk through to the back. Seats with arm rests were a necessity for me! I ended up buying 2 Mitsubishi Pajero front seats from a scrap yard for R500. Below are some images showing the cutting of the double seat frame and welding in some angle iron to support the new seats.
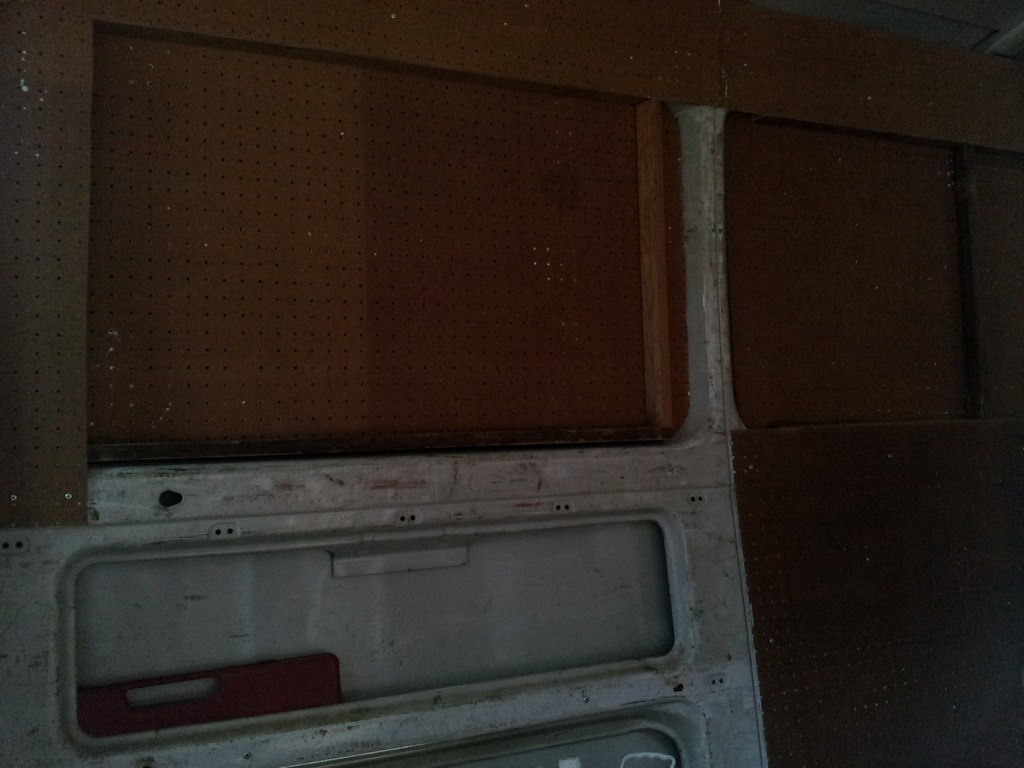
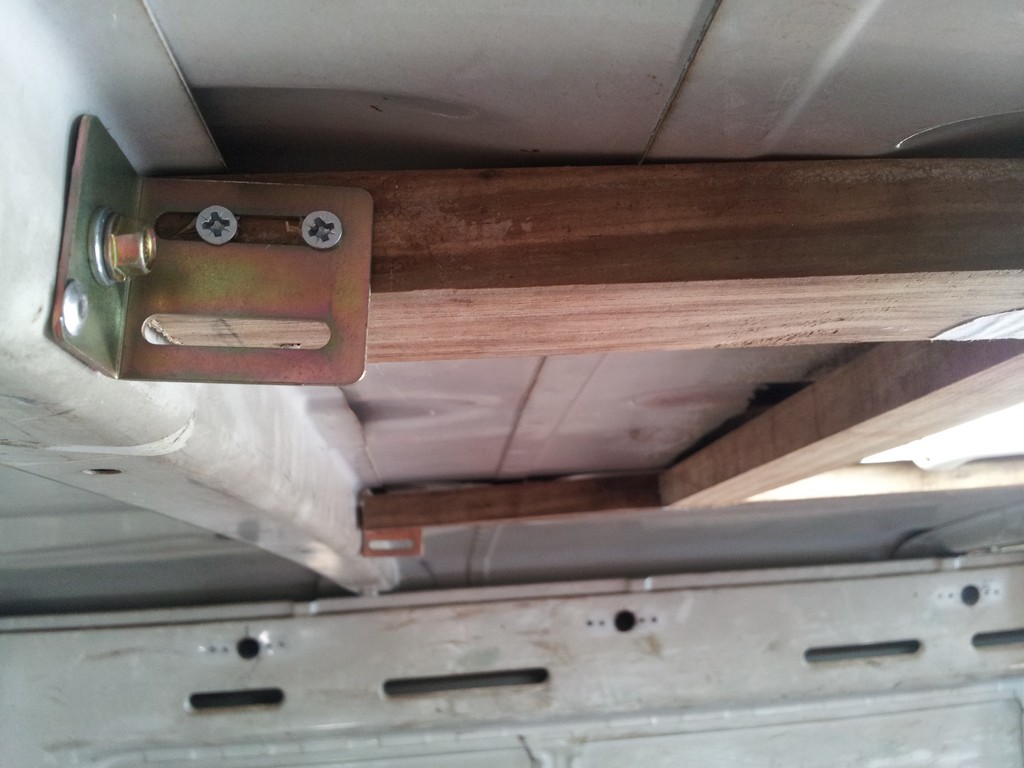
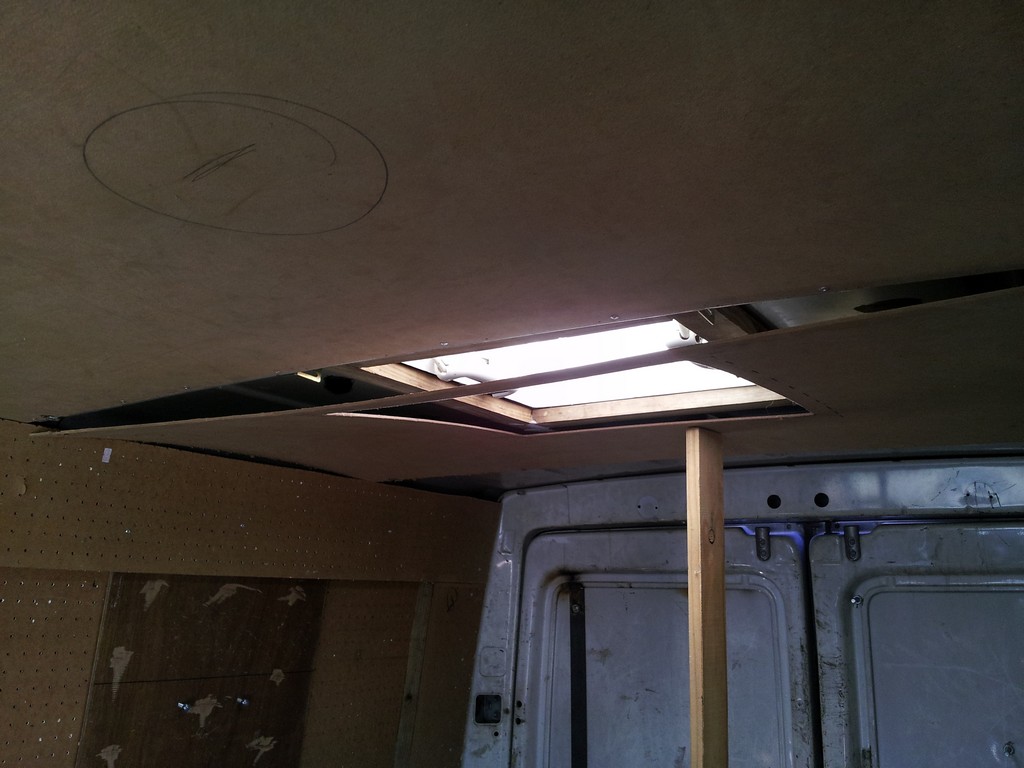
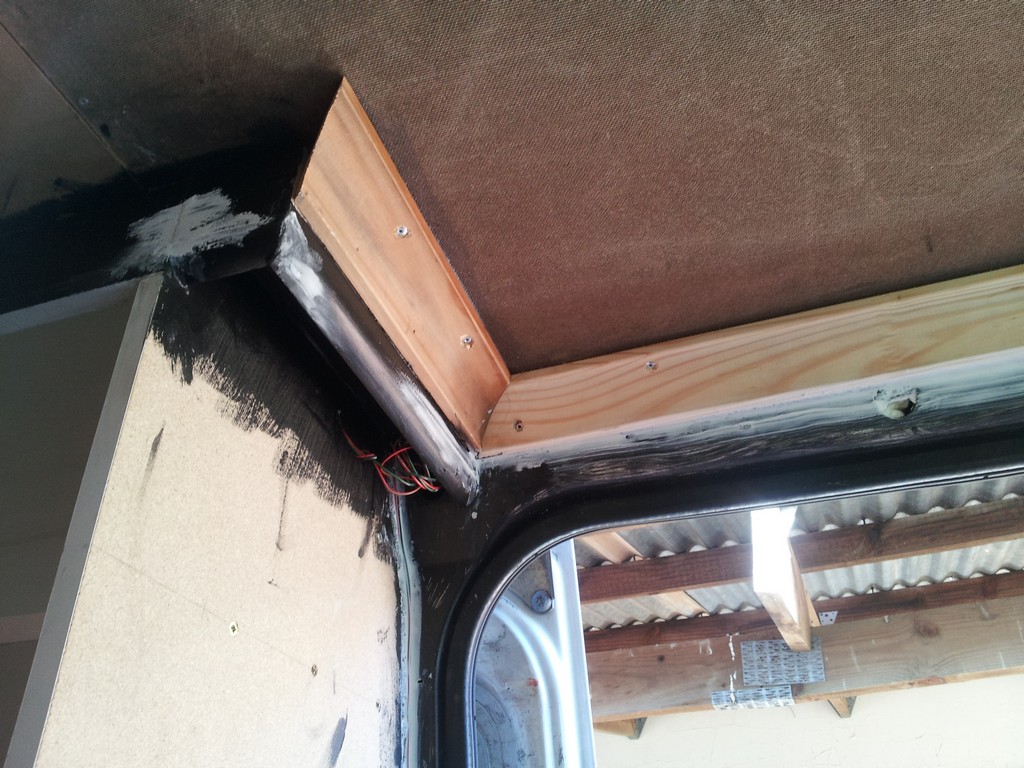
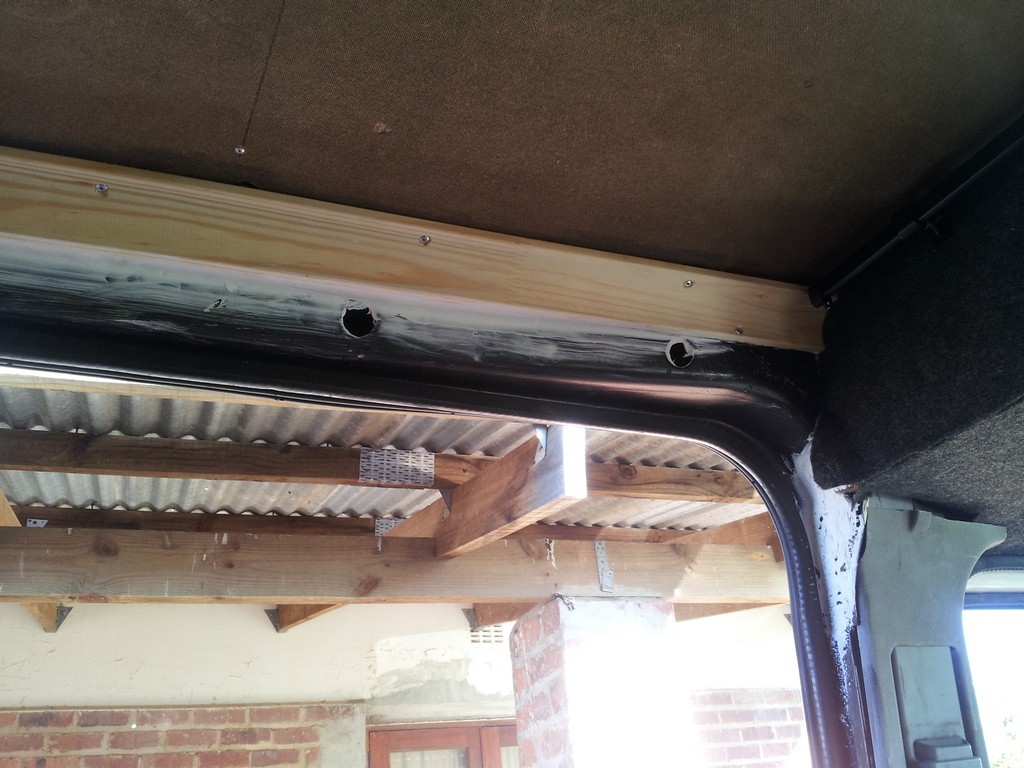
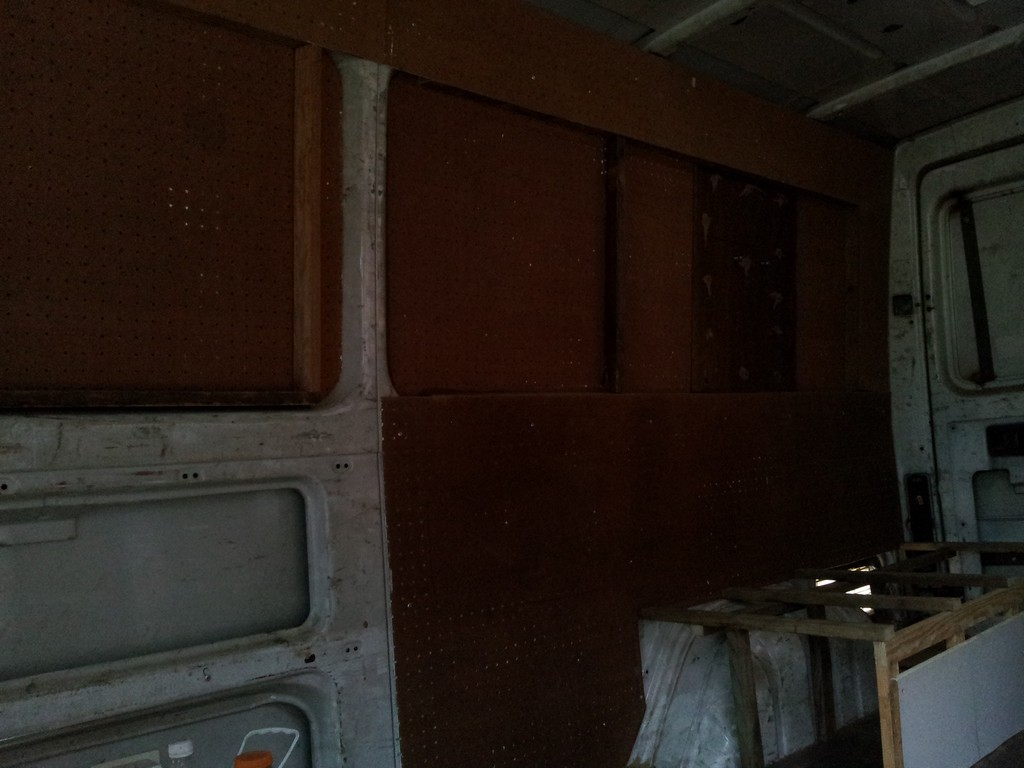
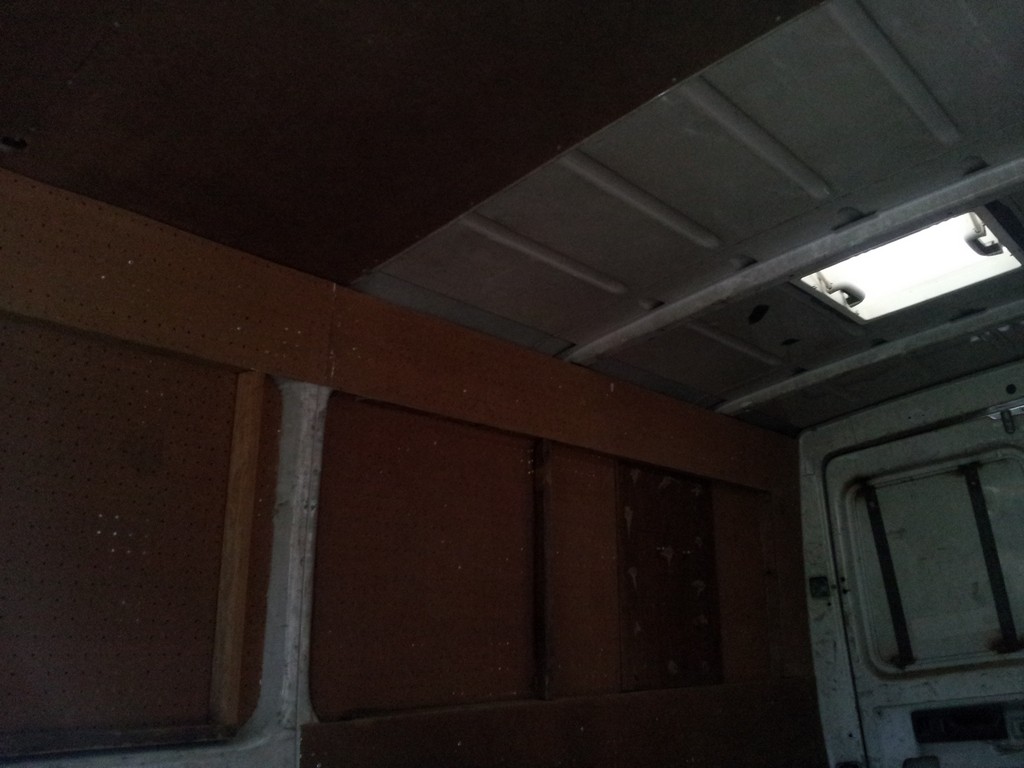
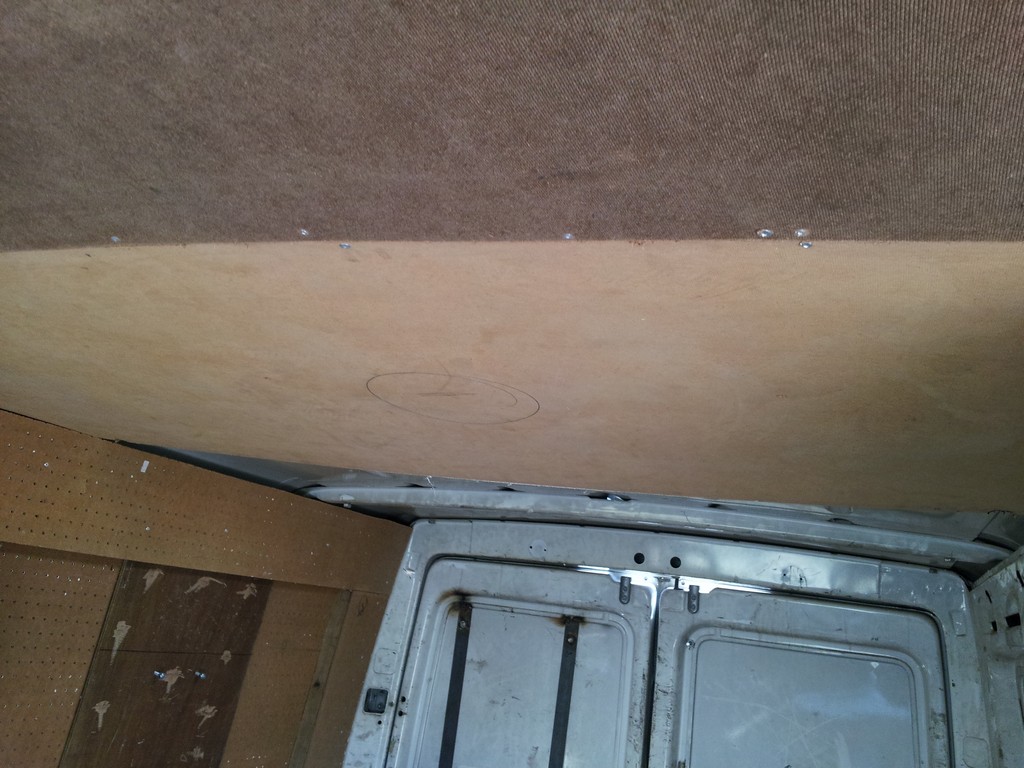
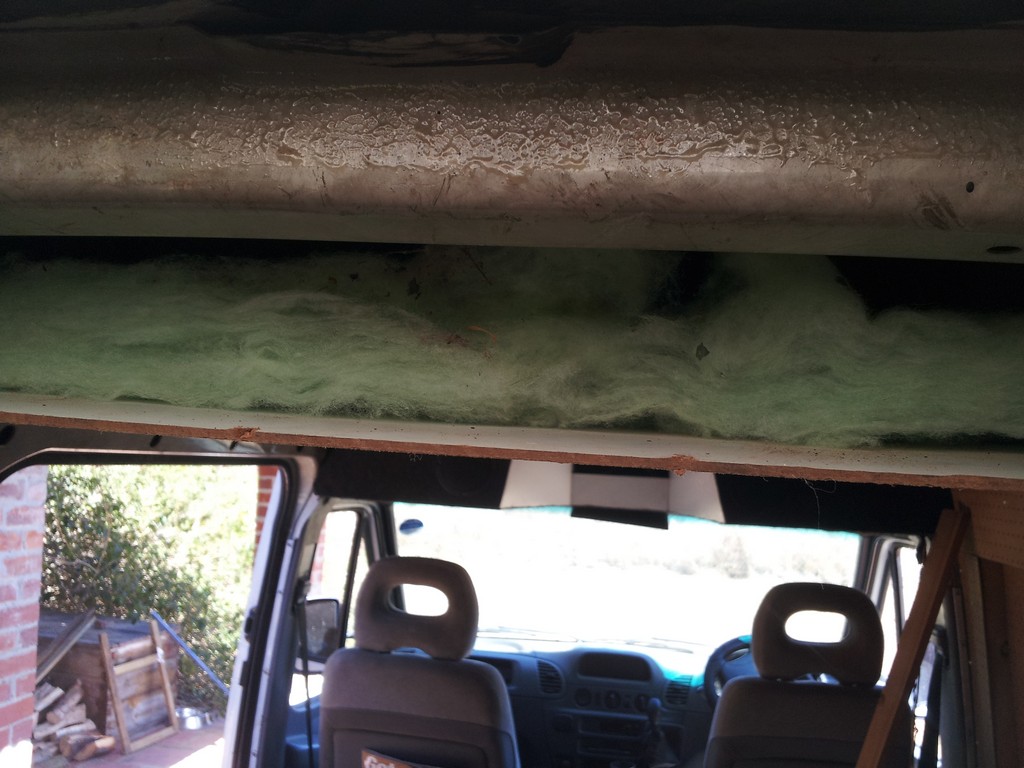
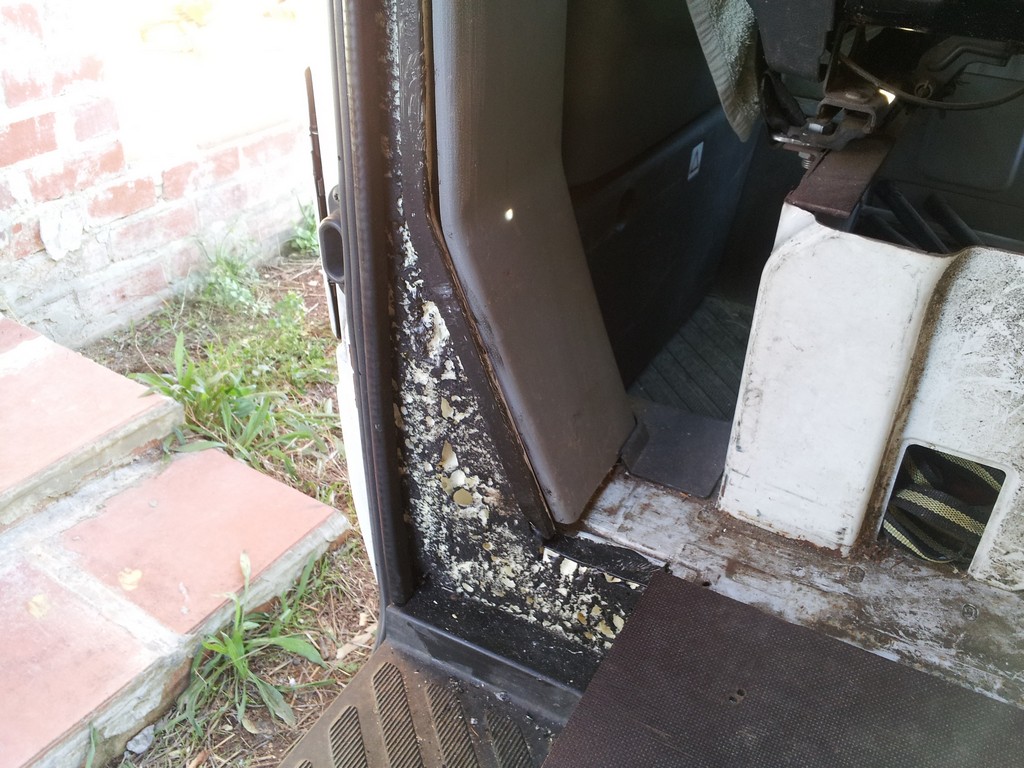
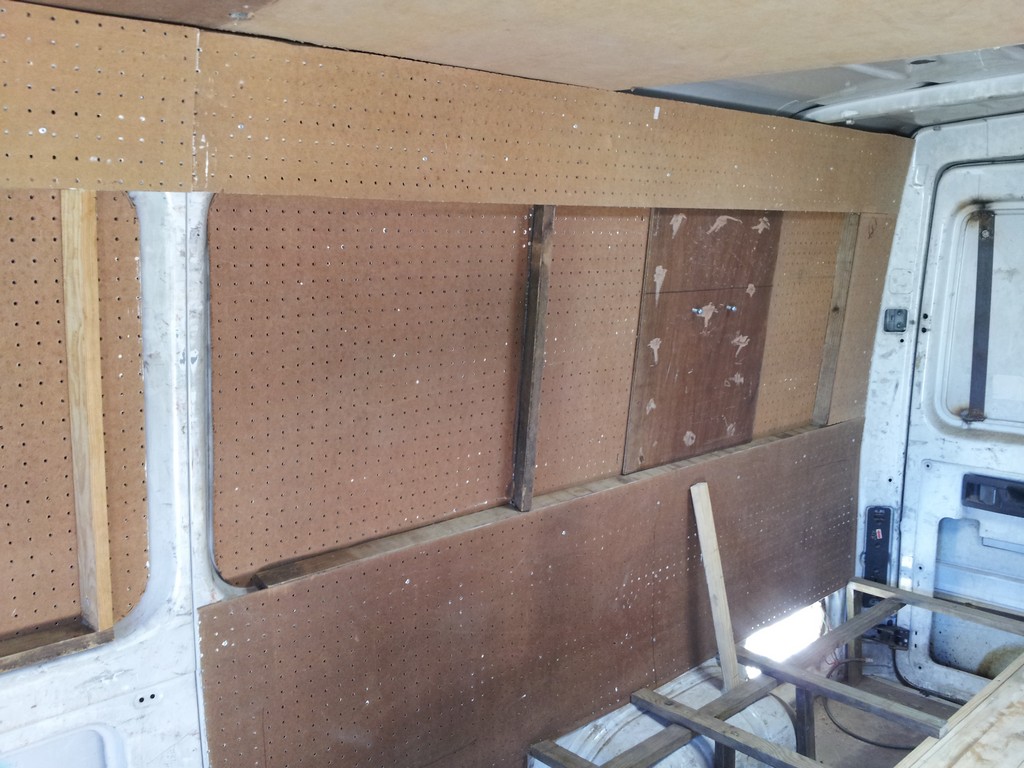
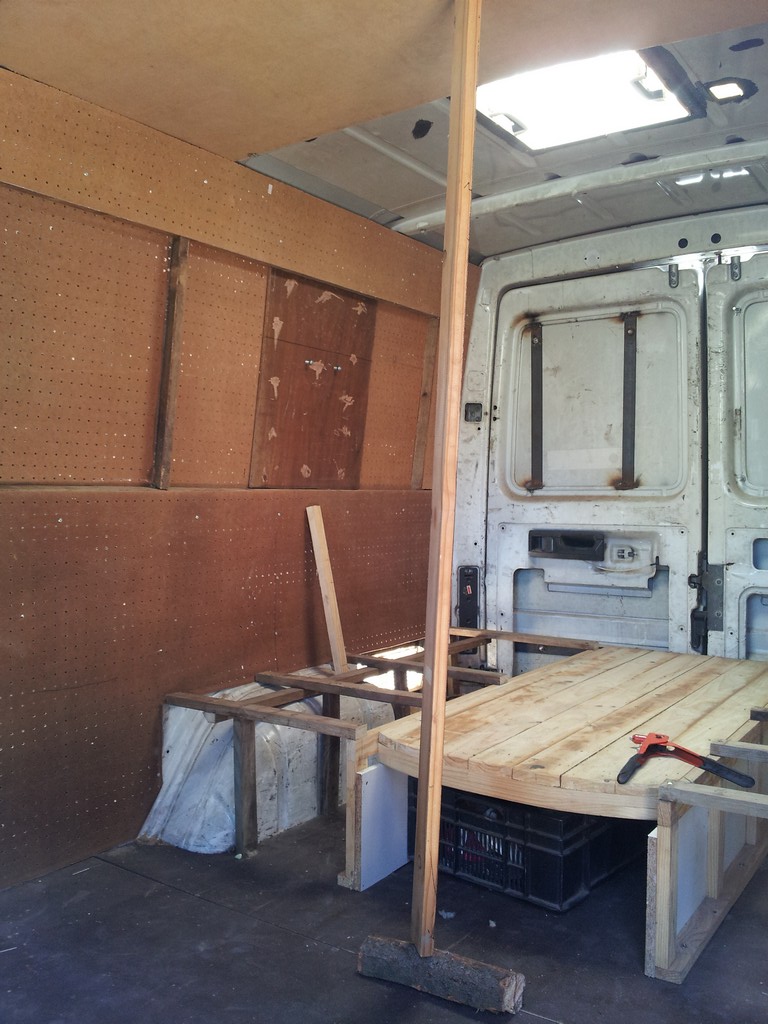
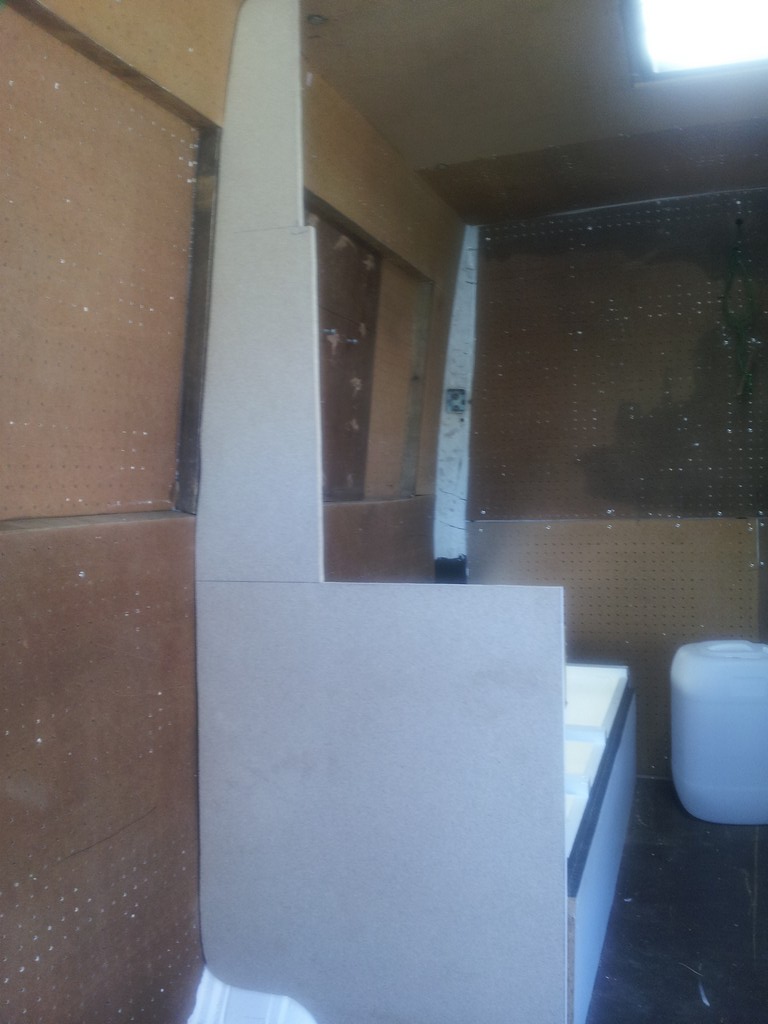
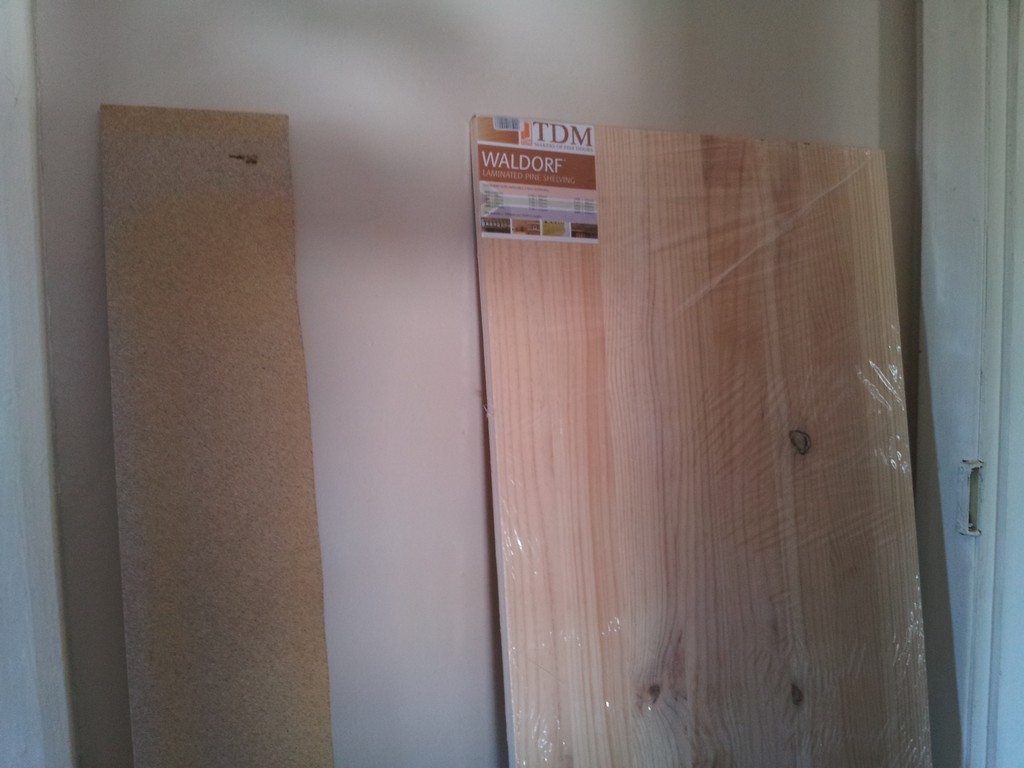
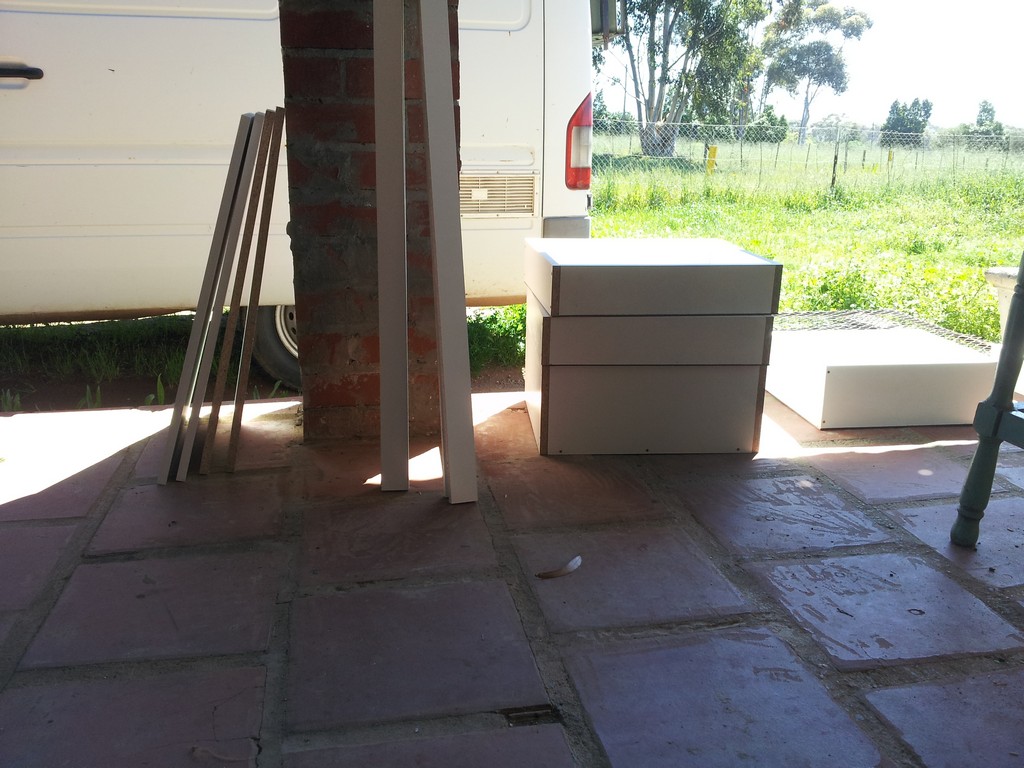
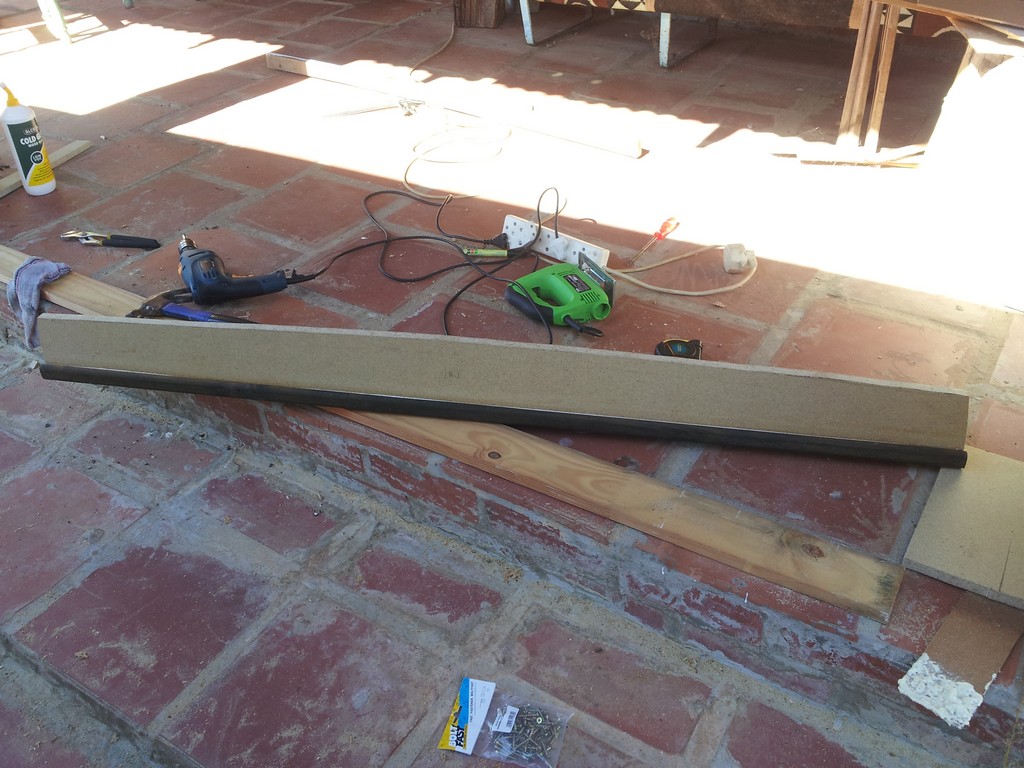
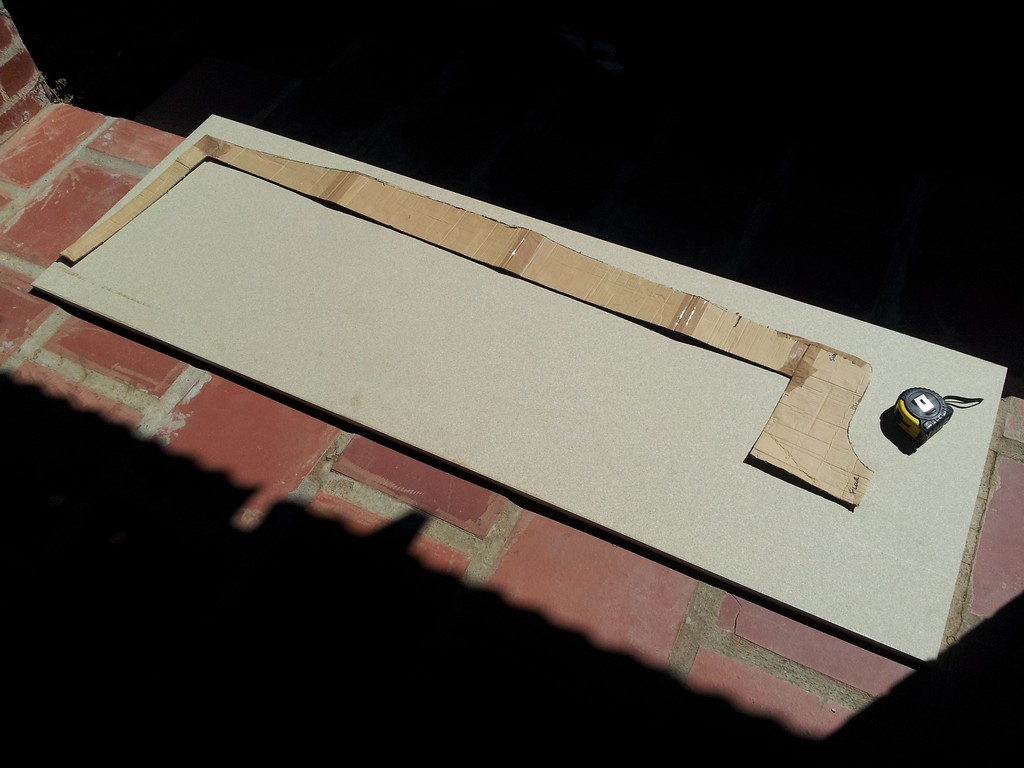
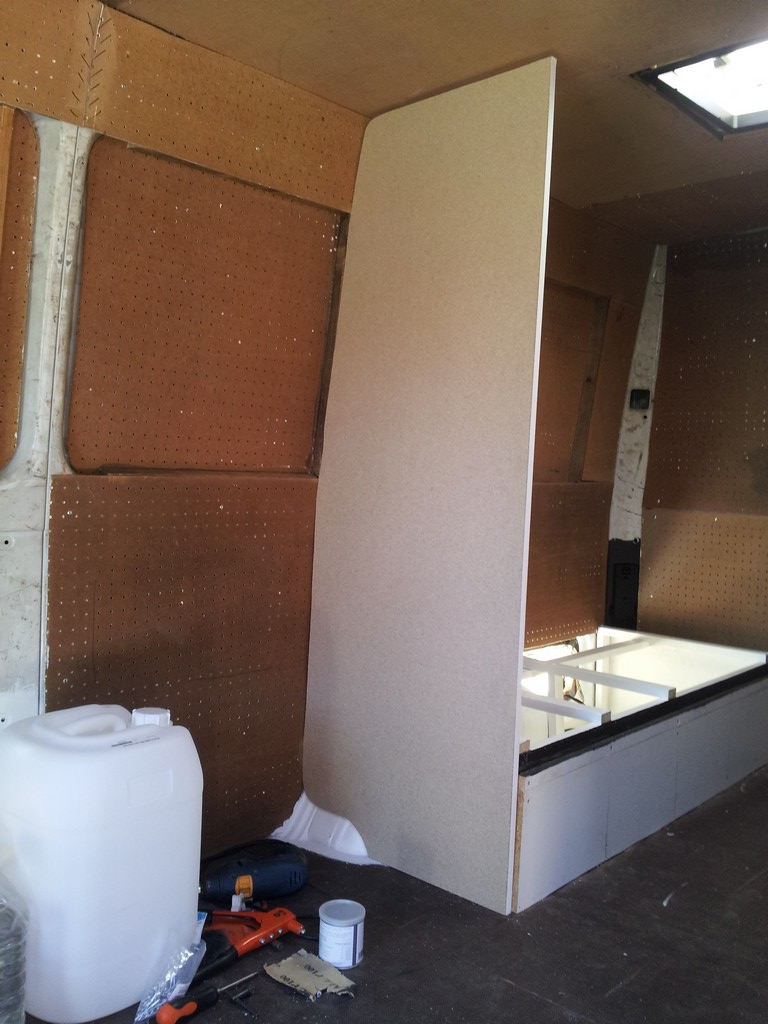
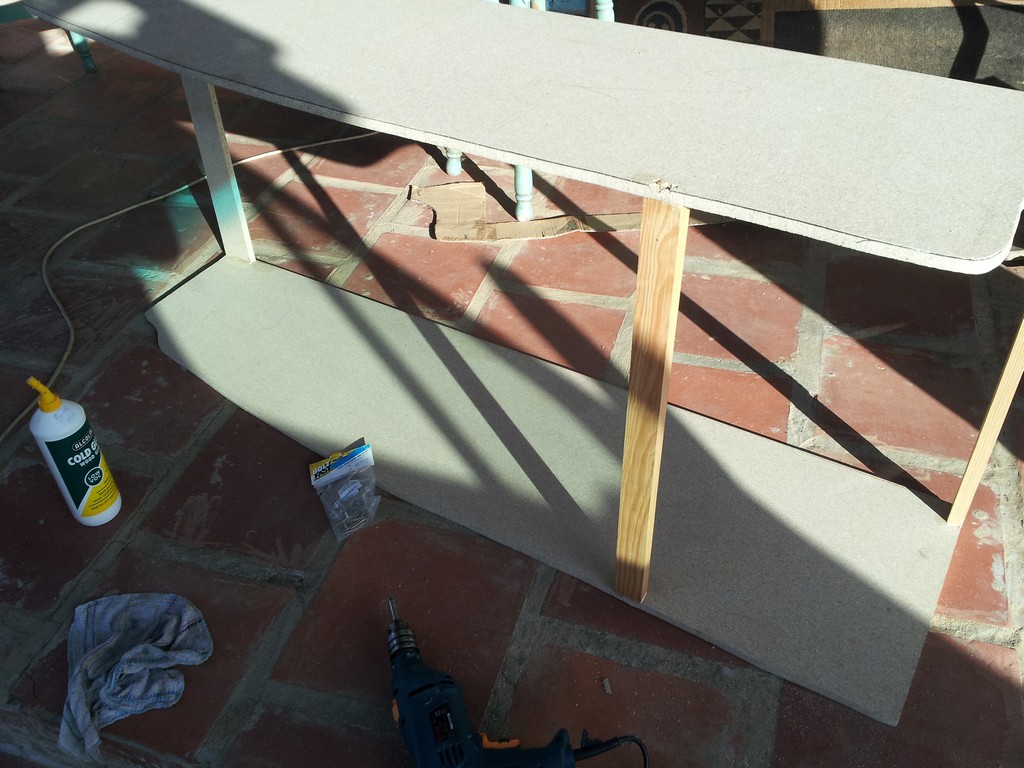
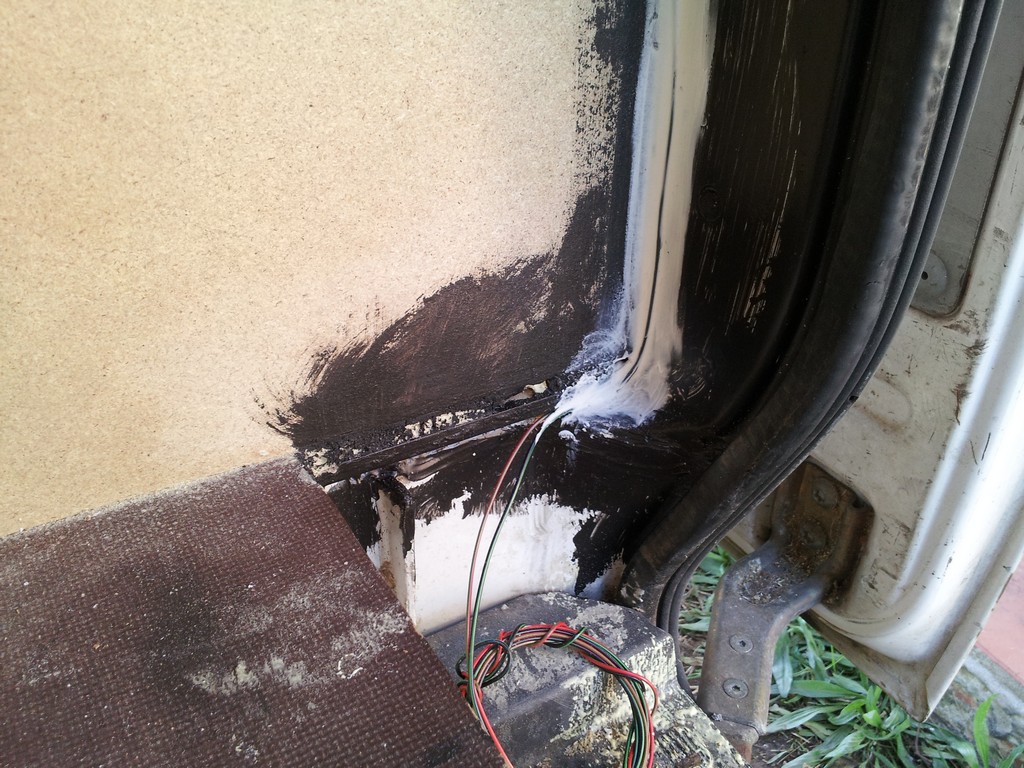
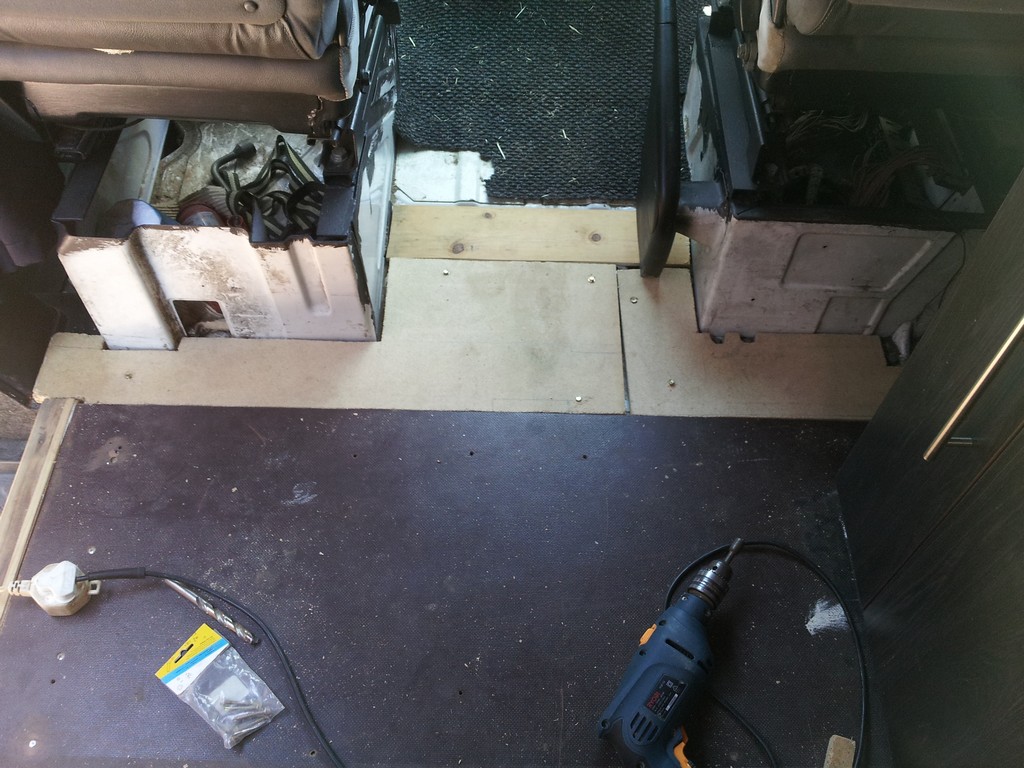
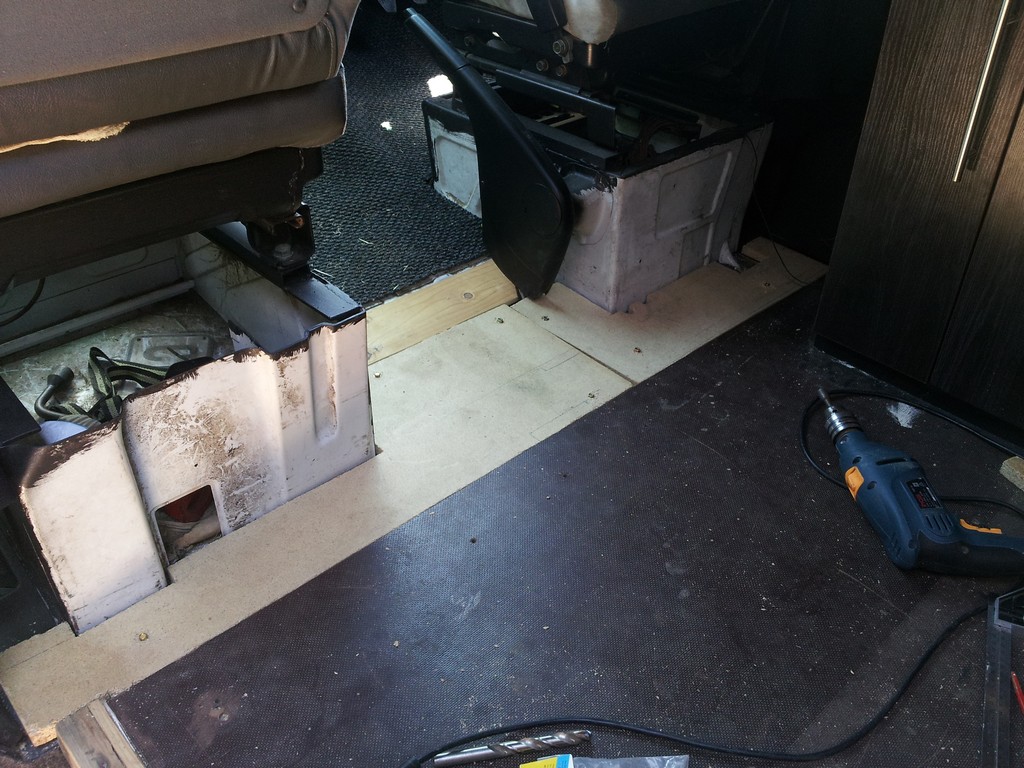
Paneling
Most of the paneling was done with 2nd hand hardboard (masonite board) from the back of old cupboards. In fact most of the interior was built with whatever wood I could scrounge. I was working on a tight budget!
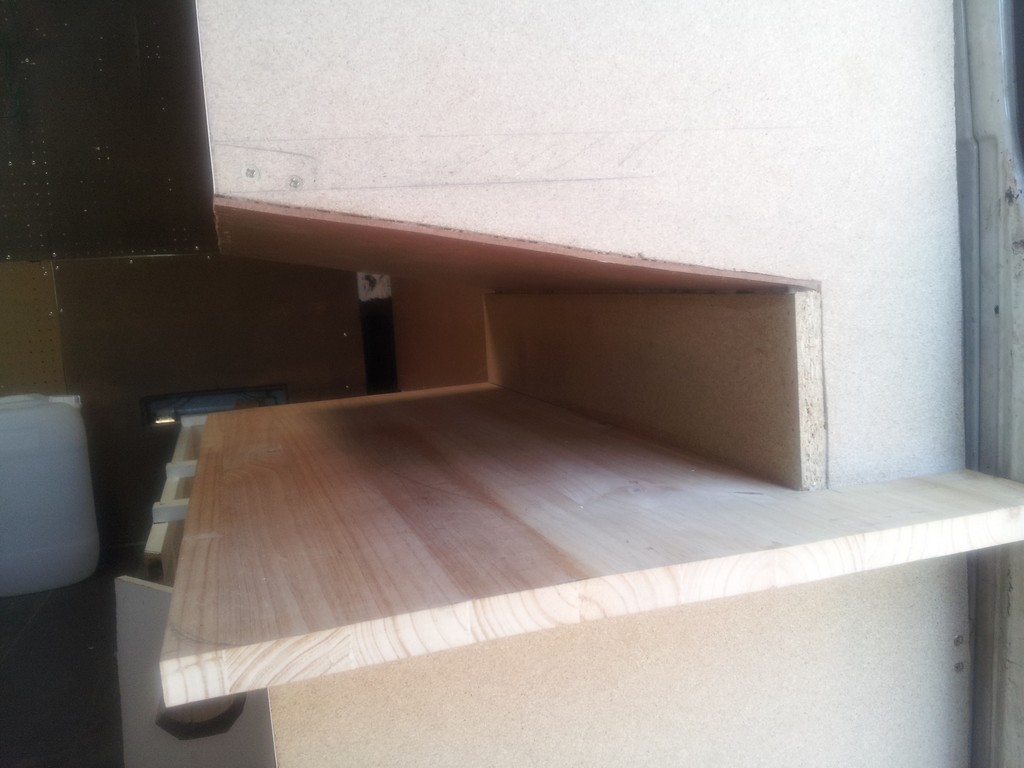
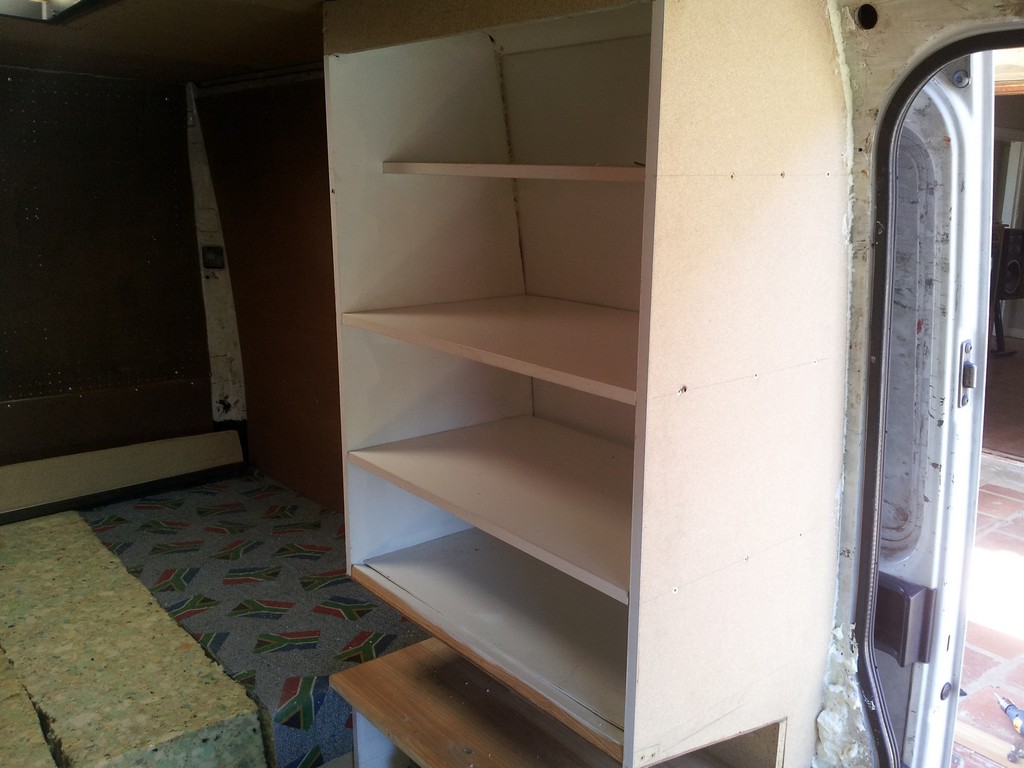
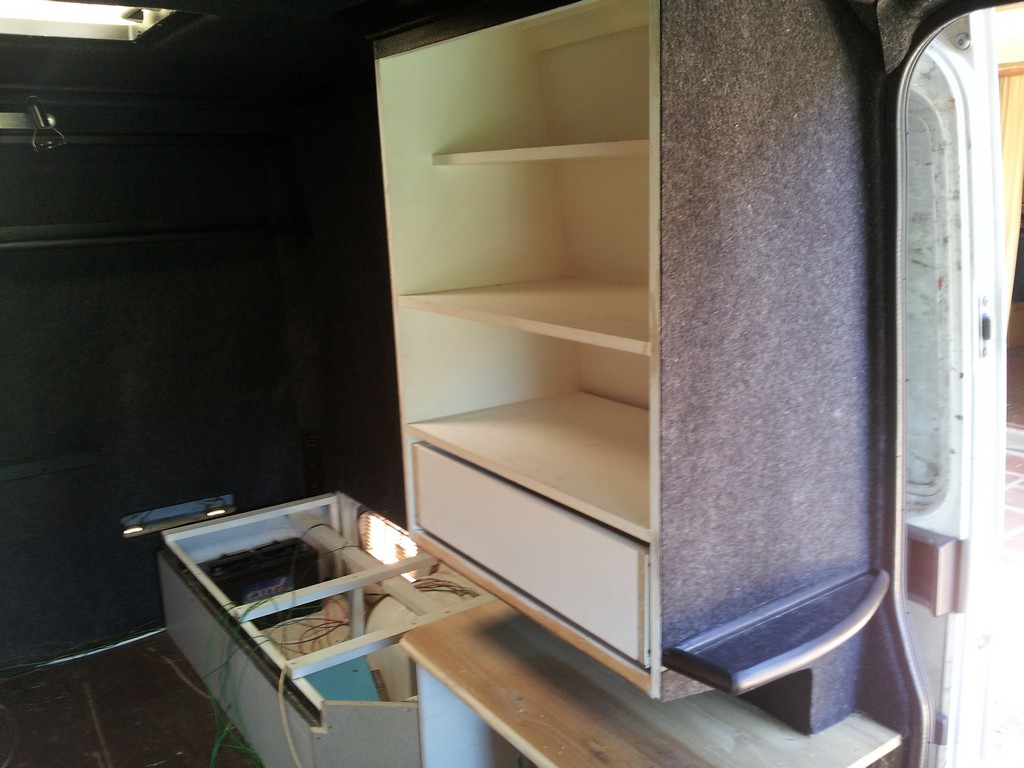
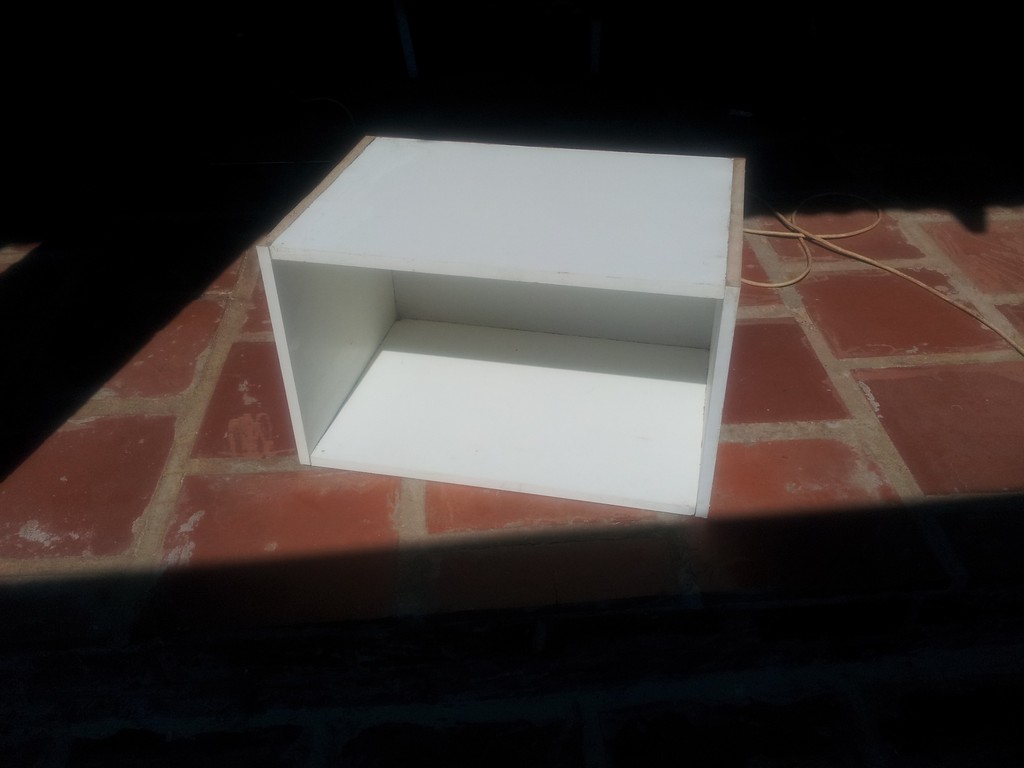
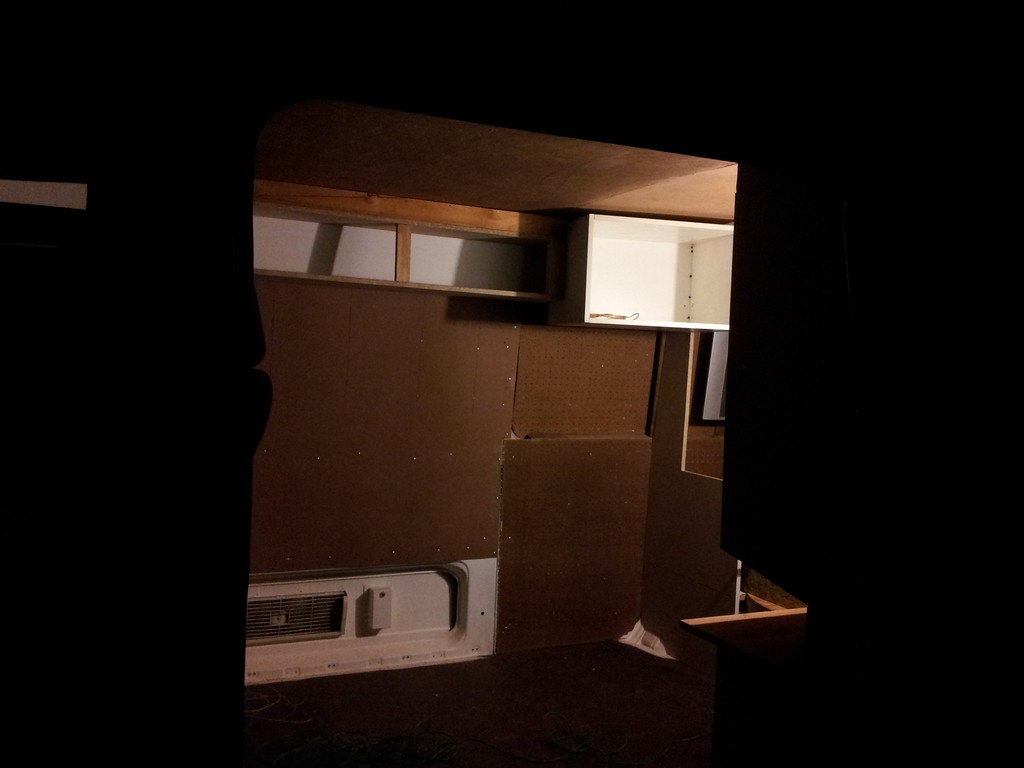
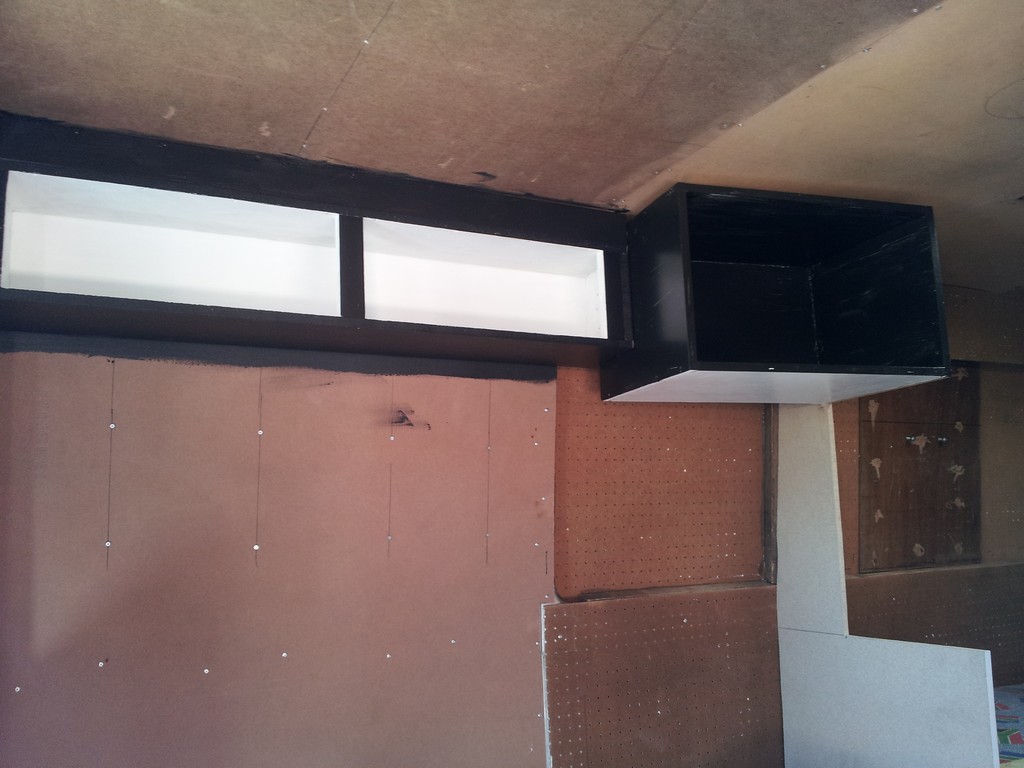
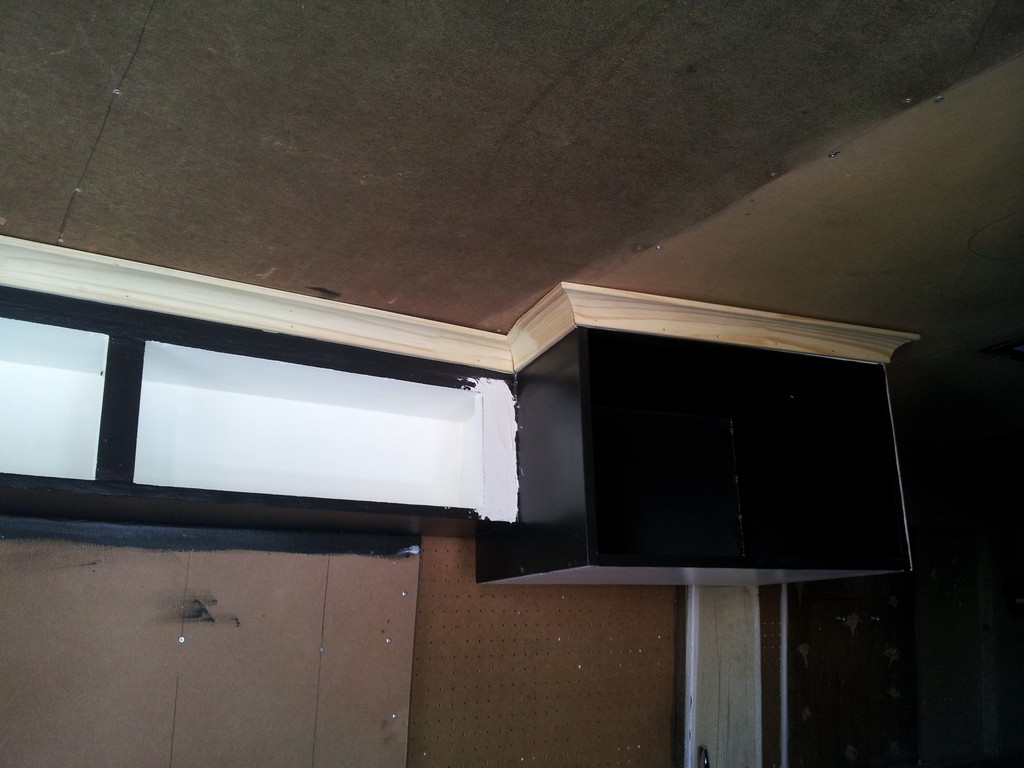
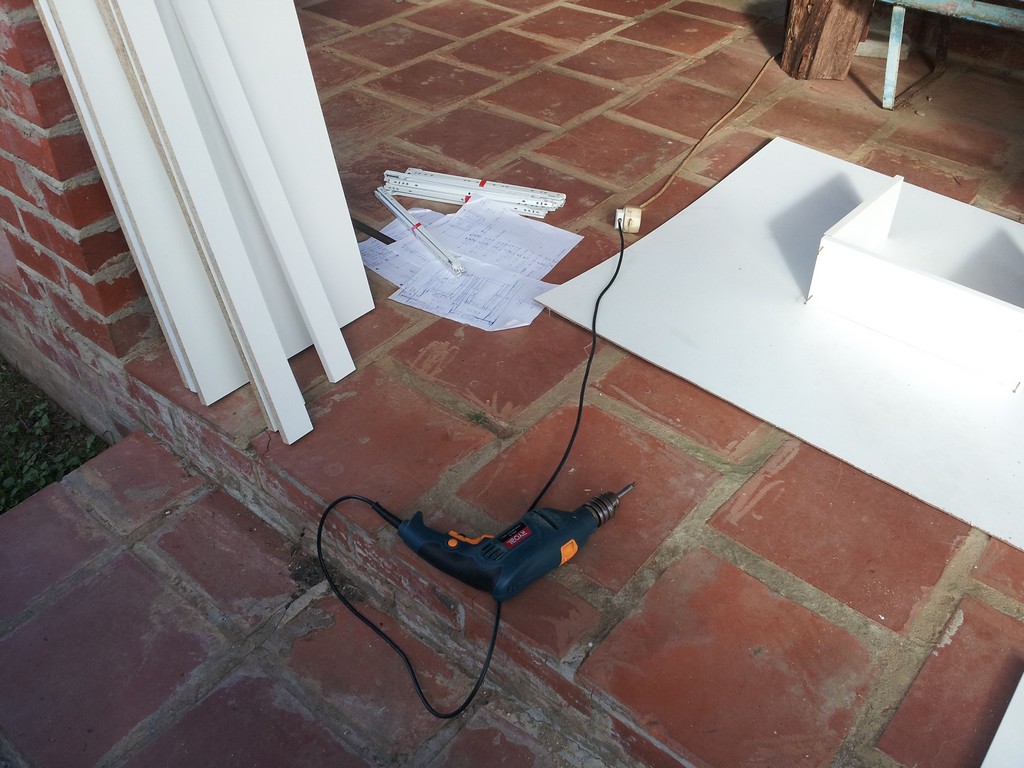
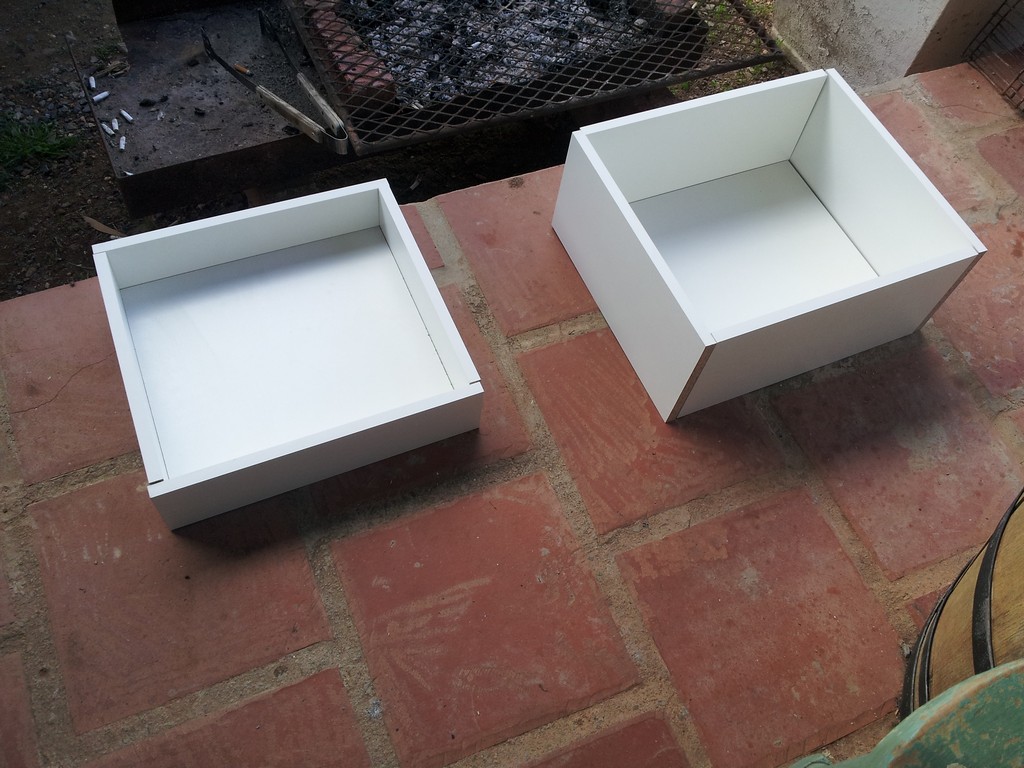
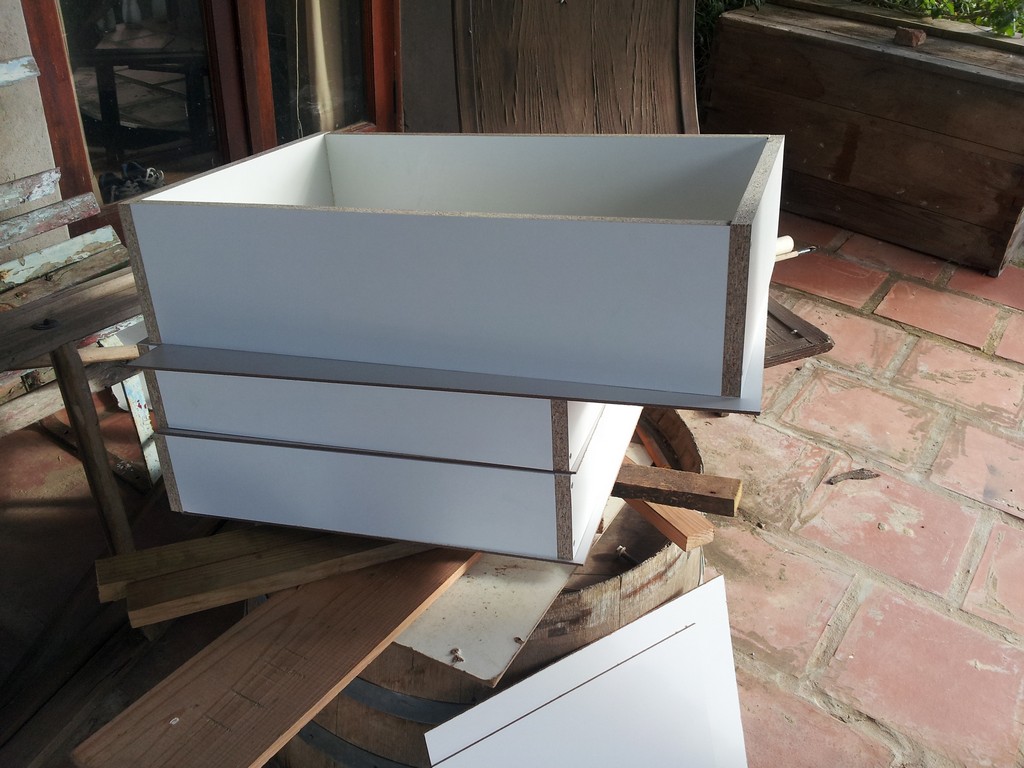
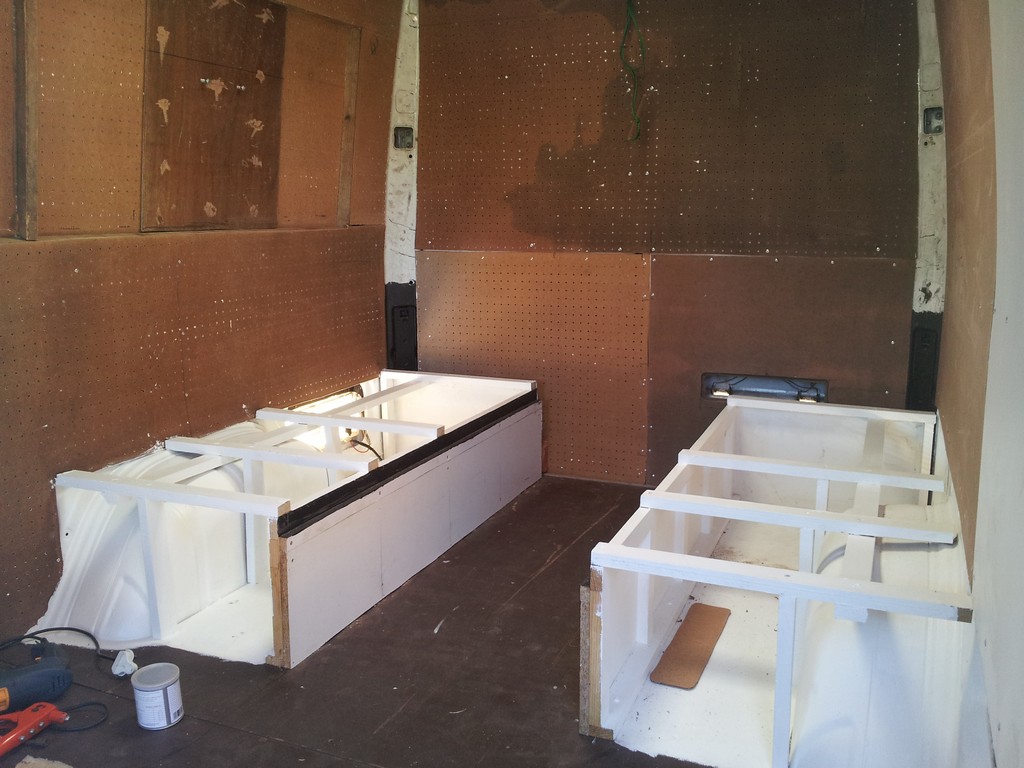
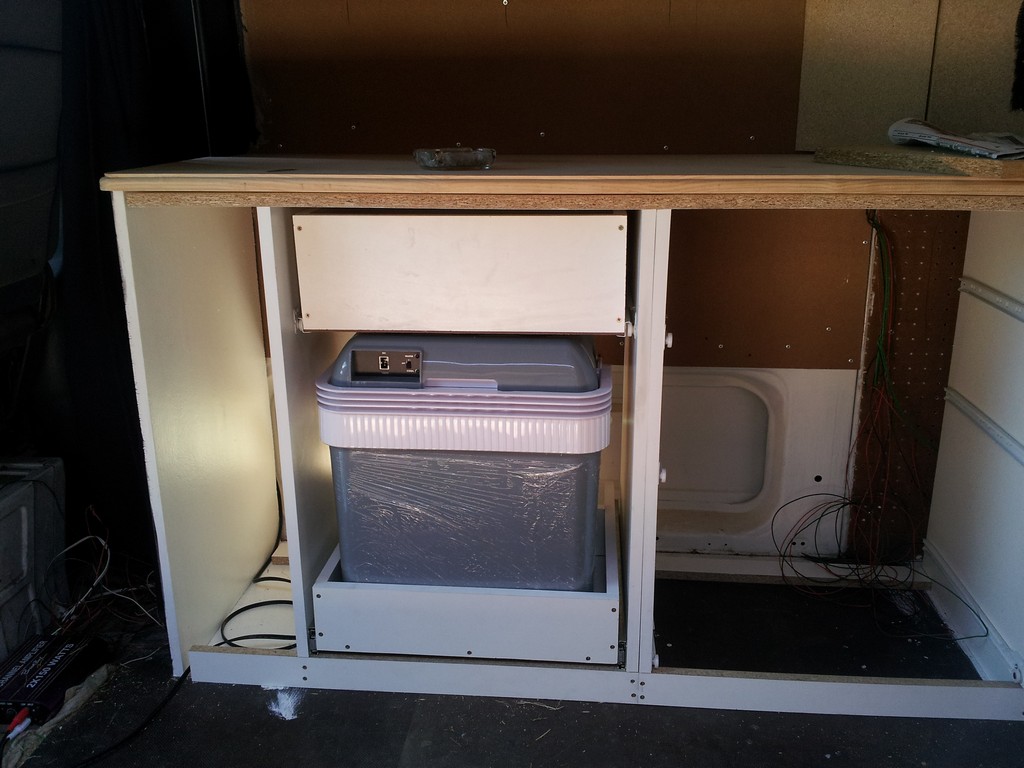
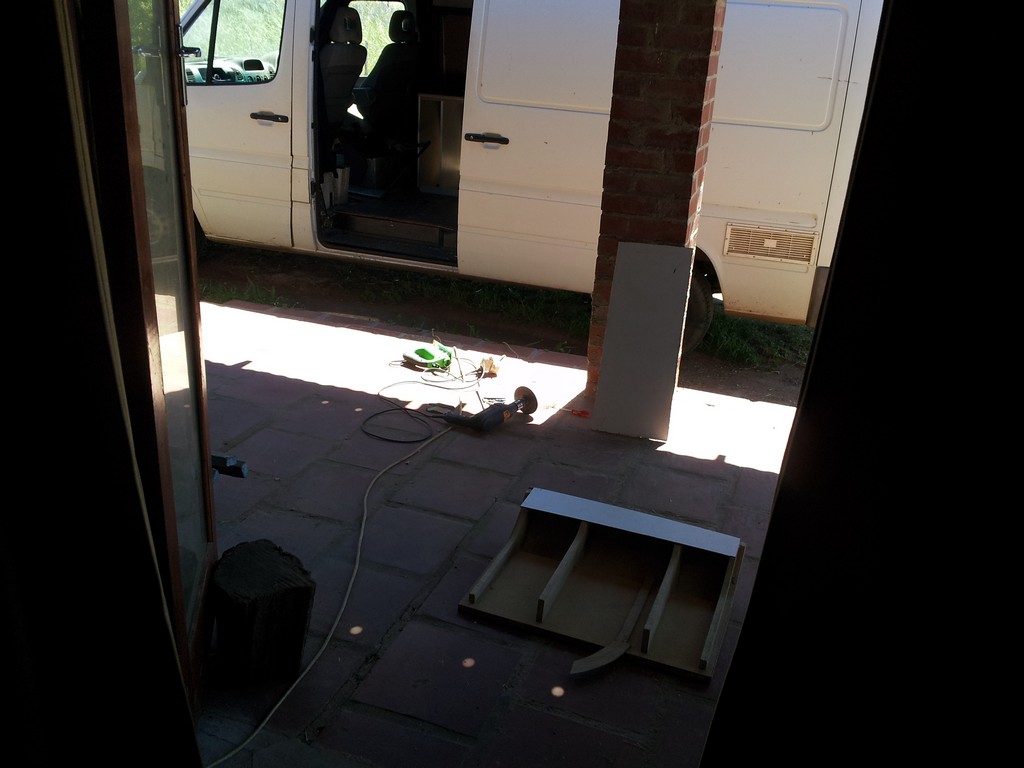
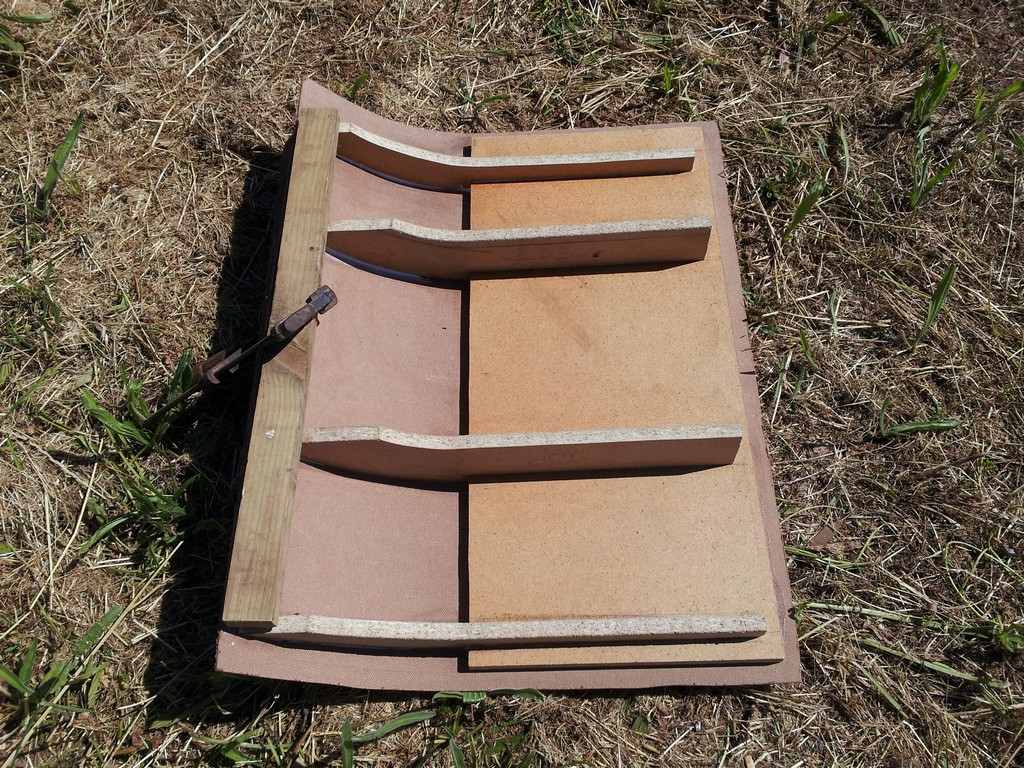
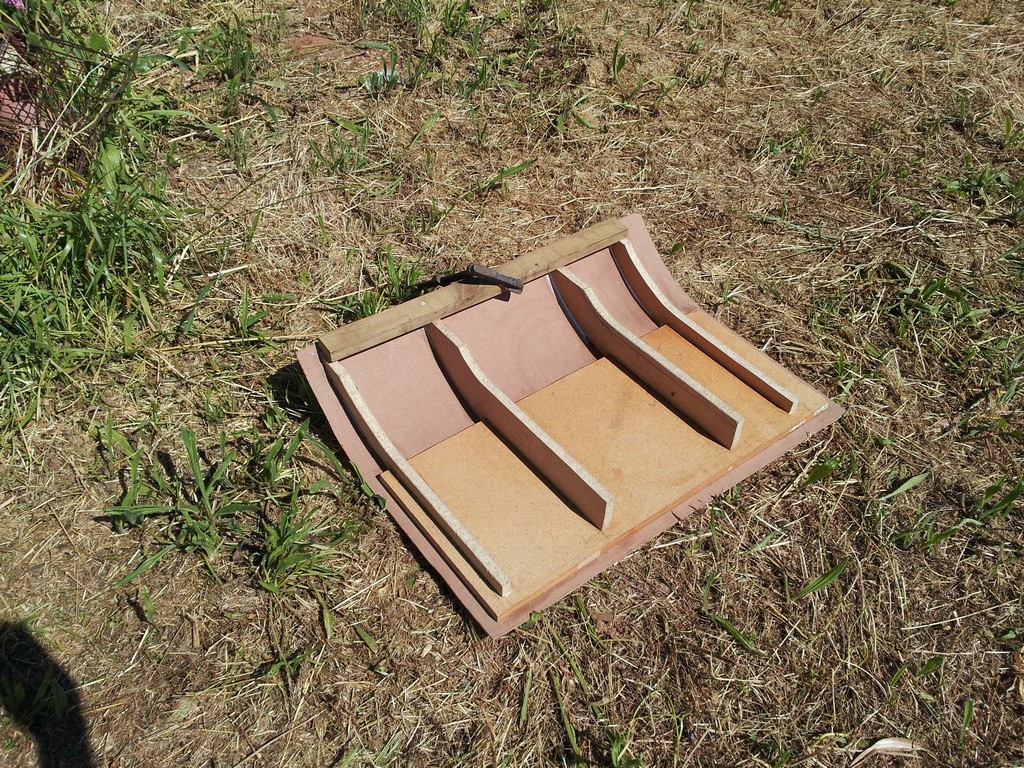
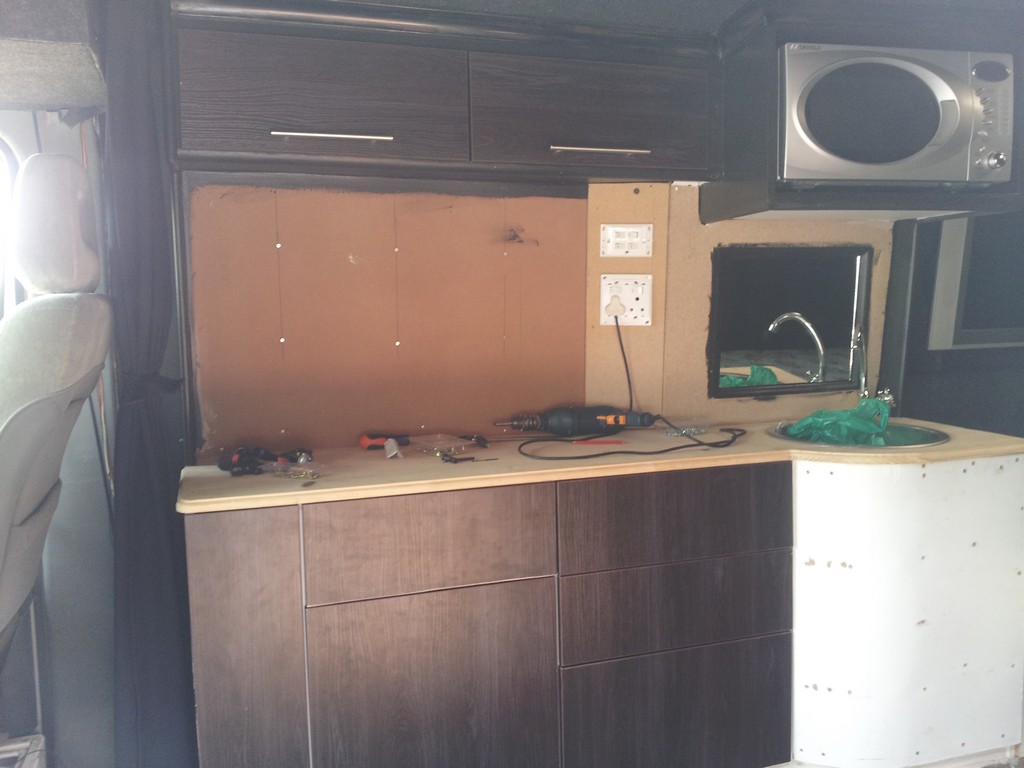
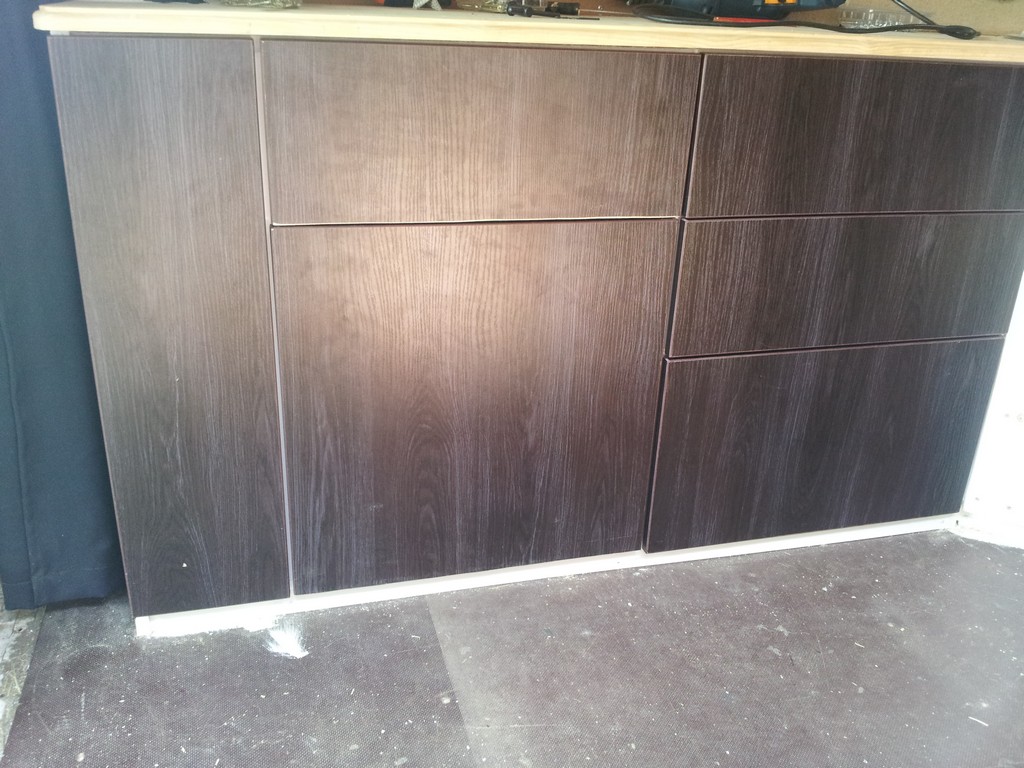
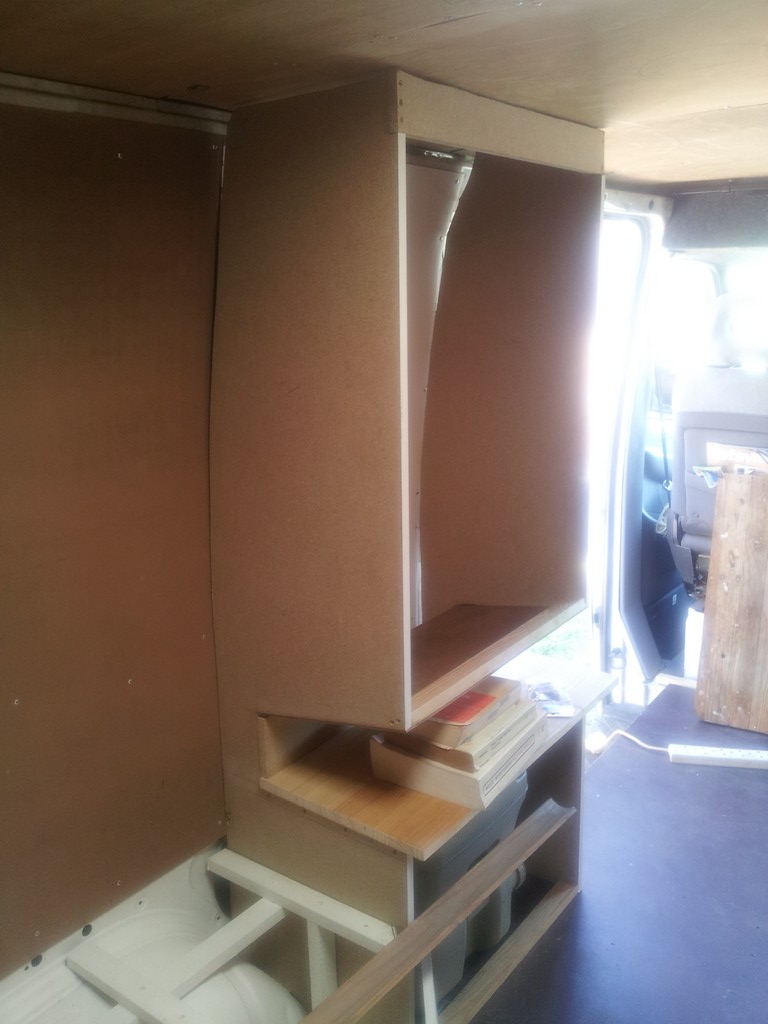
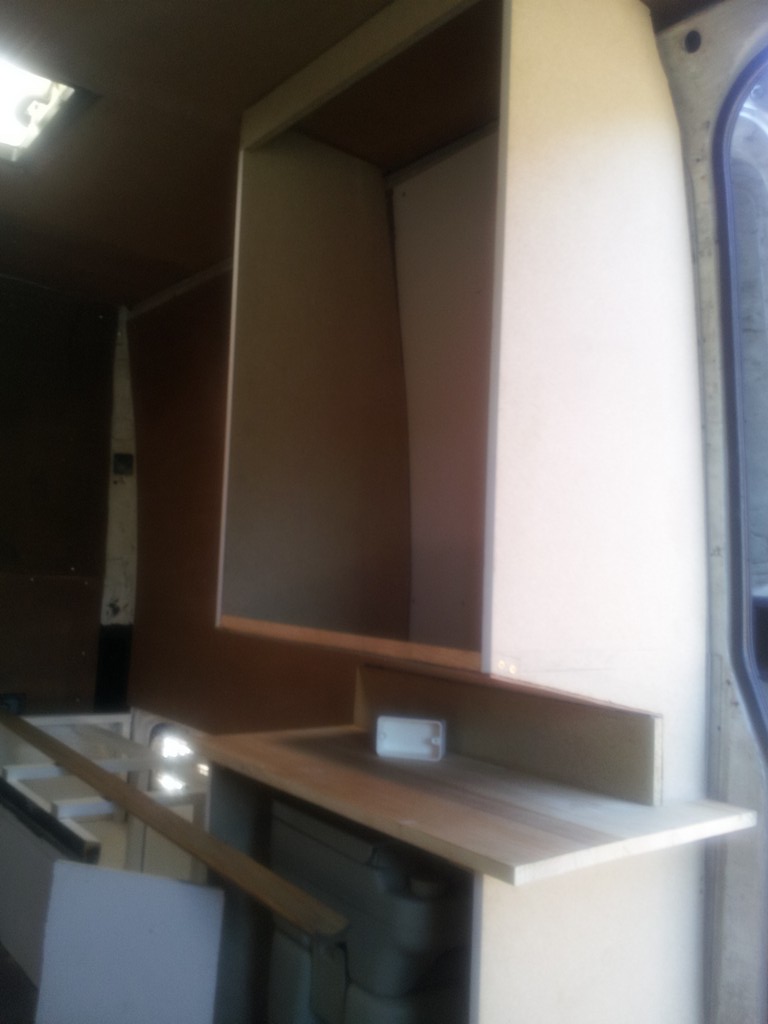
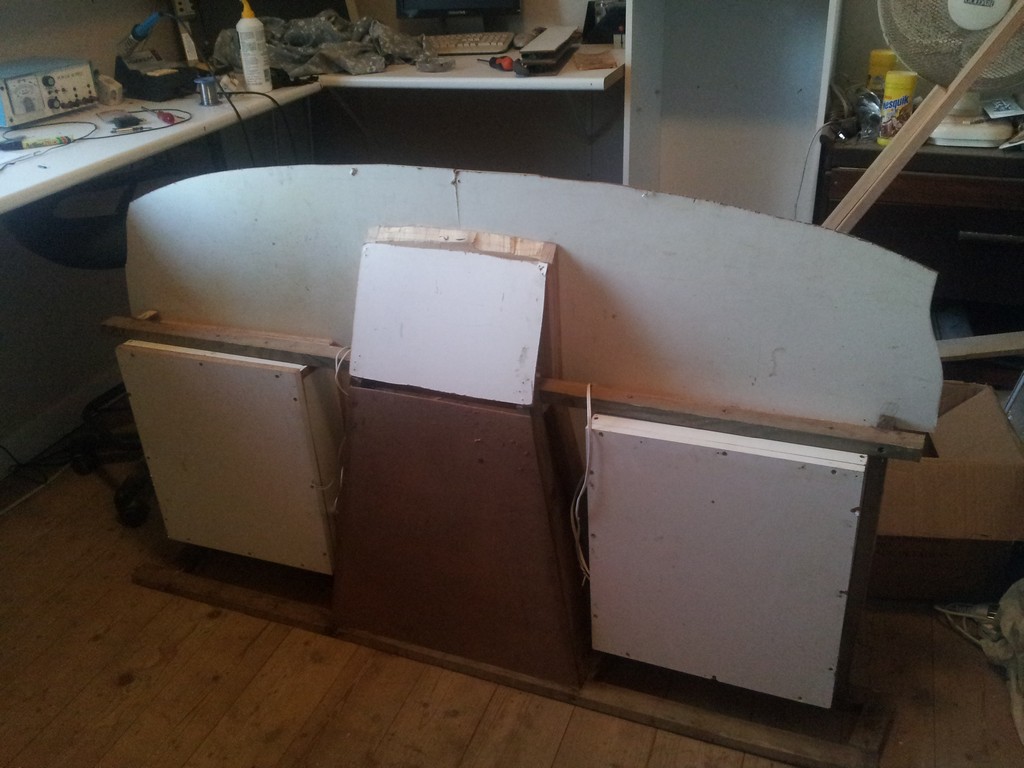
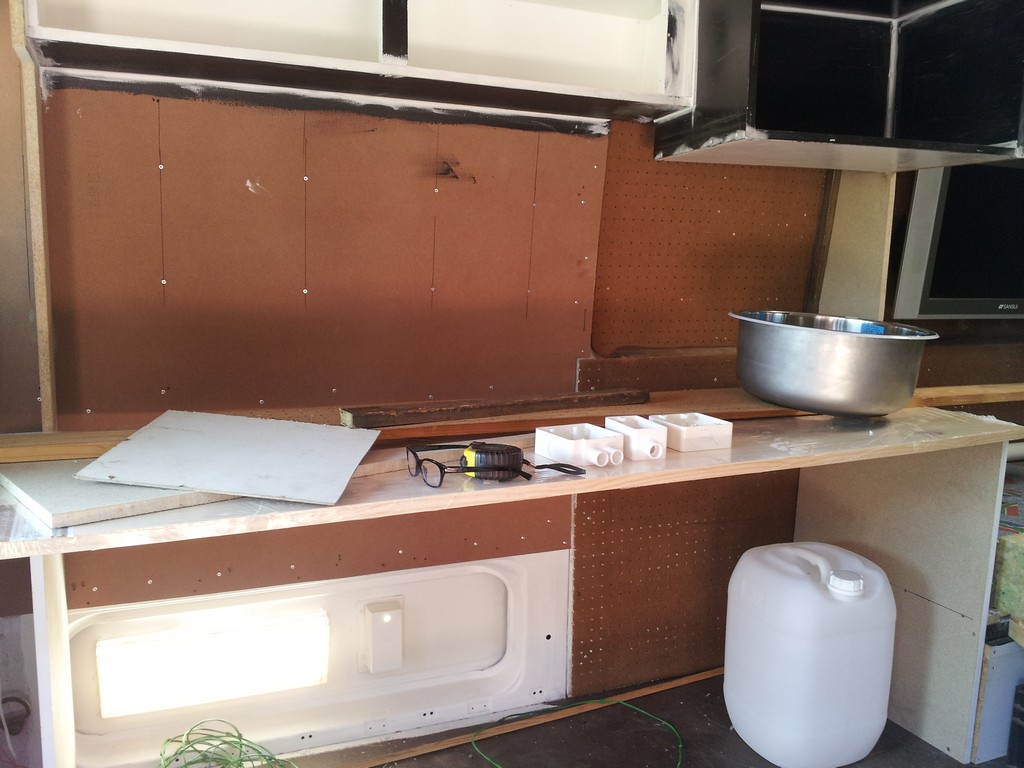
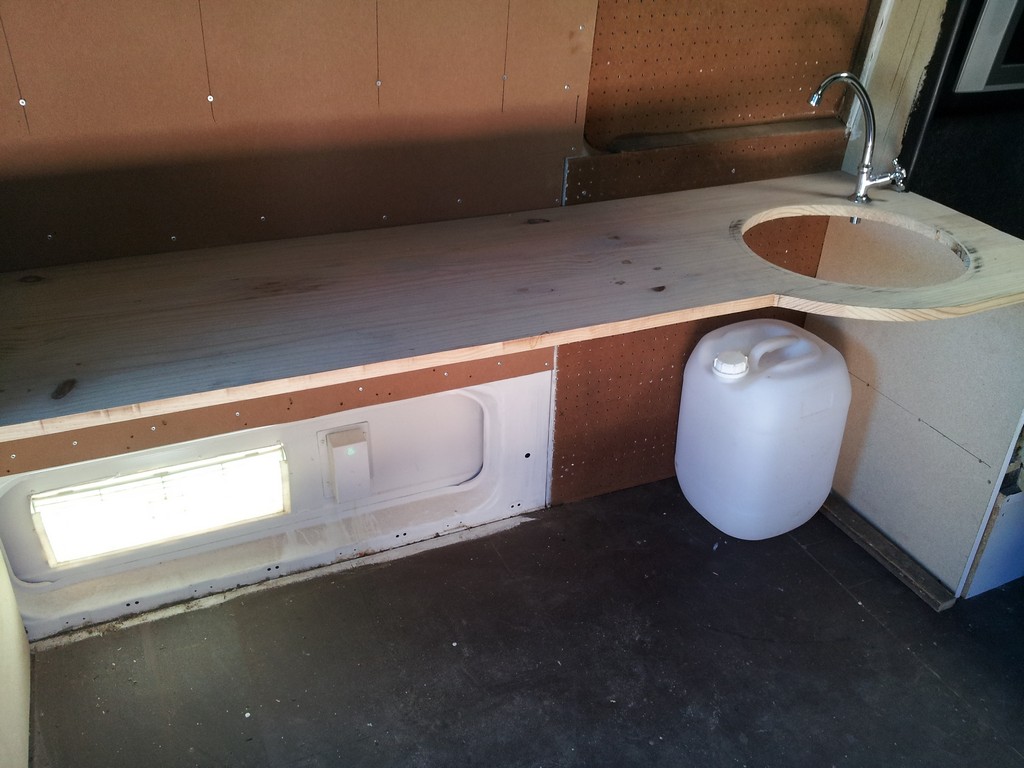
Units & Cupboards
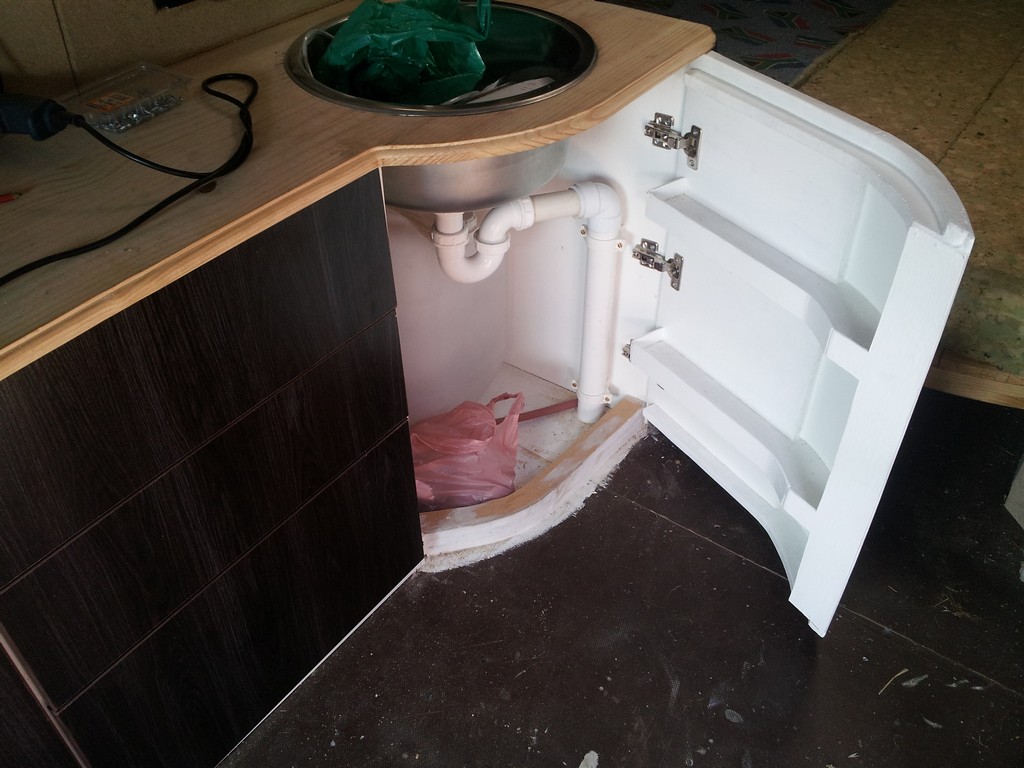
Basic carpentry skills will certainly be an advantage here. For the kitchen unit, I drew up a cutting list and had all the wood pre-cut. I then built the carcass and assembled the drawers outside the van before fitting them in place. The microwave unit and top cupboards were built entirely from recycled board. Most of the clothes cupboard (besides the two sides) is reused shelving. To maximize floorspace (and because I thought it would look nice), I made a curved door for below the prep-bowl sink. I thought it would be a nice break from all the straight lines. The microwave unit is also angled .
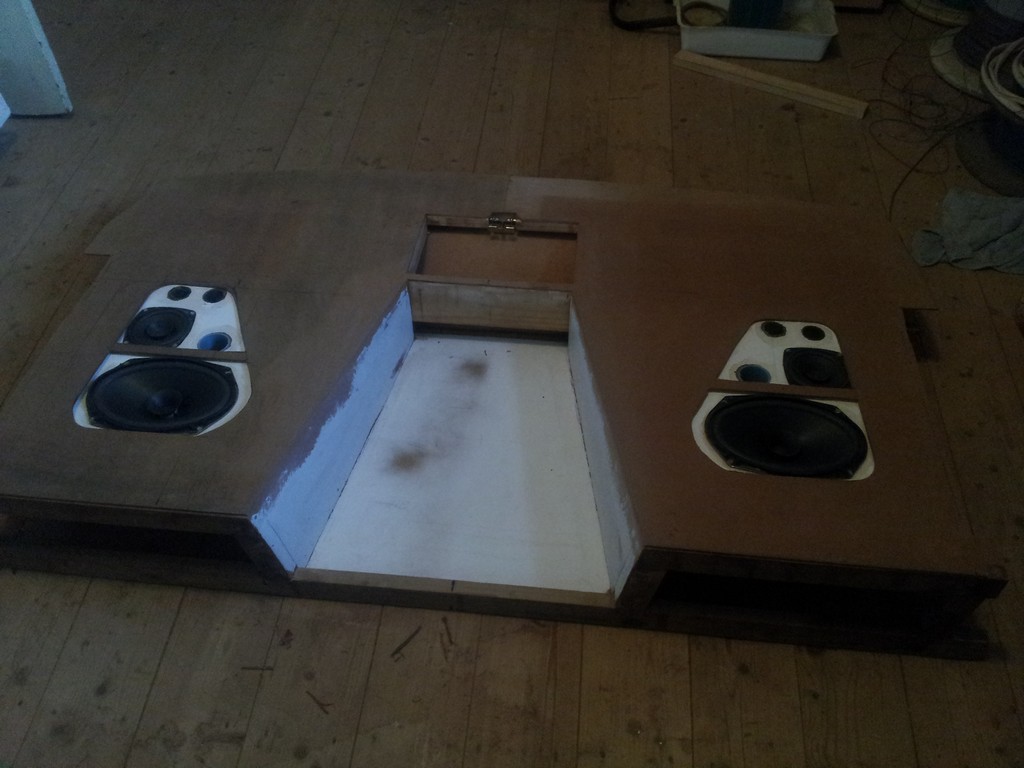
Overhead Console
This was a big job! The speaker boxes are made from chip board and house two 6x9 inch woofers, two 4 inch squawkers and four tweeters. The boxes are padded inside and incorporate a bass reflex tube (a vented box). The cut out in front is for a flip down 10 inch Tablet. It doesn't look that great in the pictures, but once I covered it in acoustic carpet it turned out nice. Sounds great too!
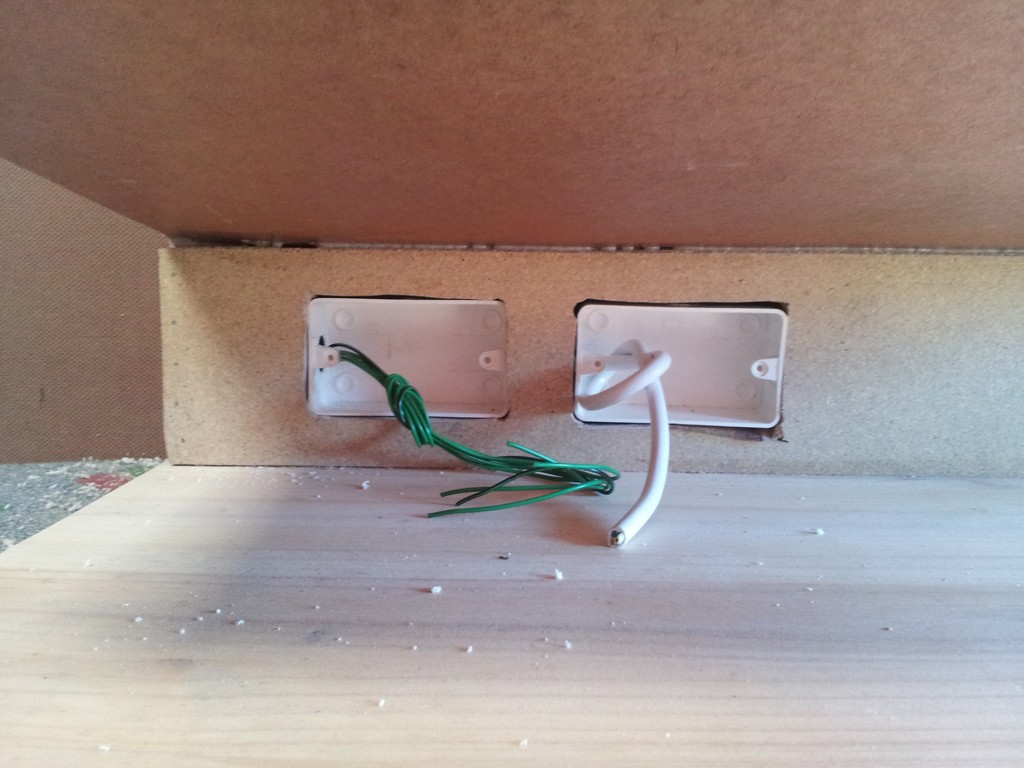
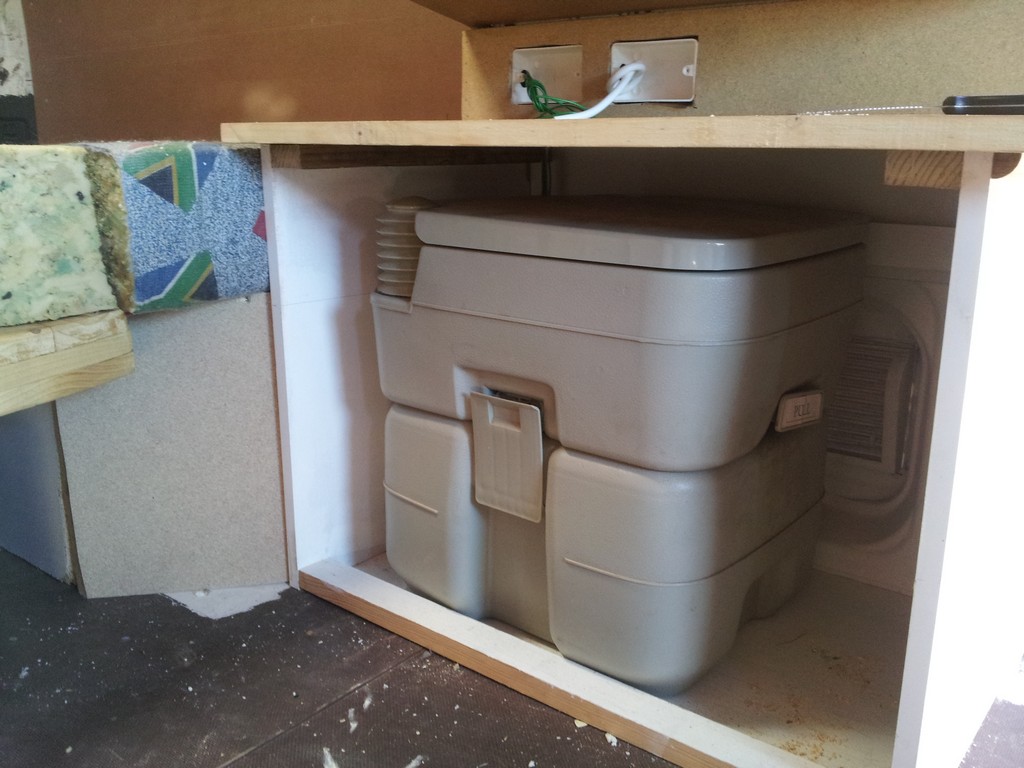
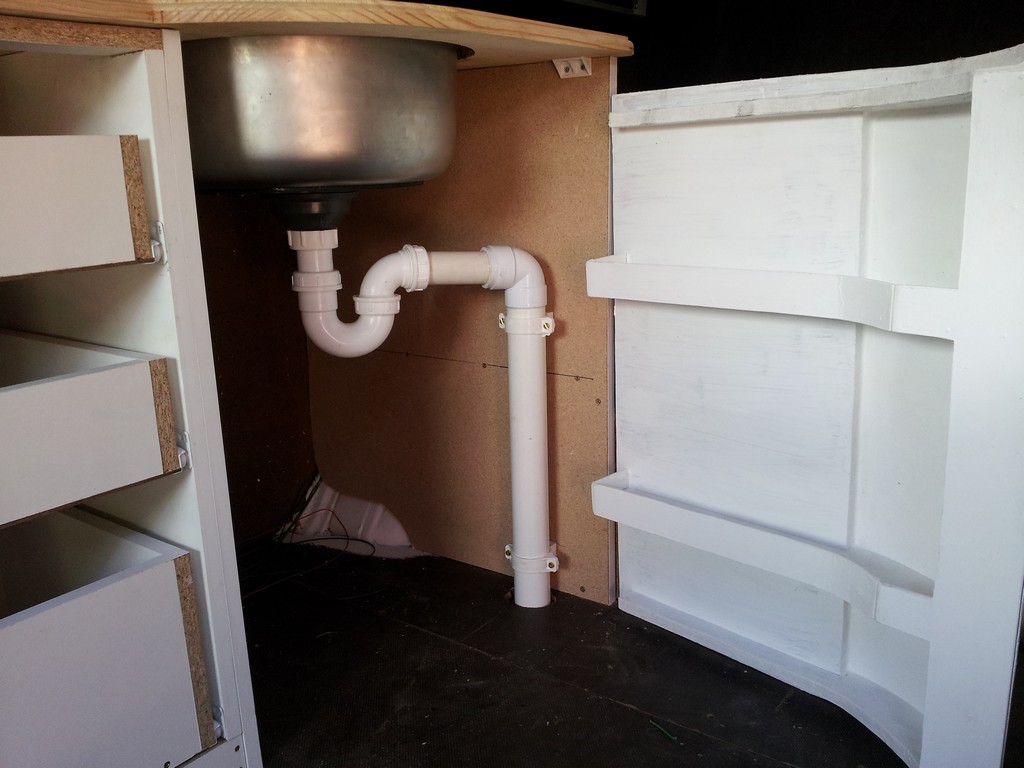
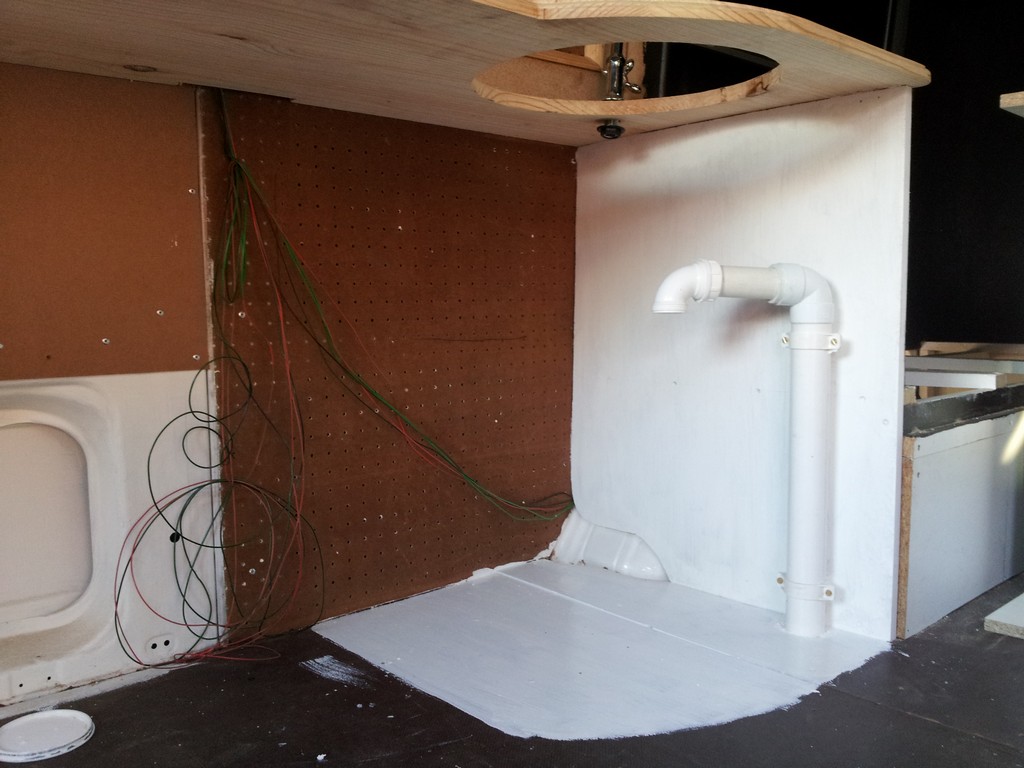
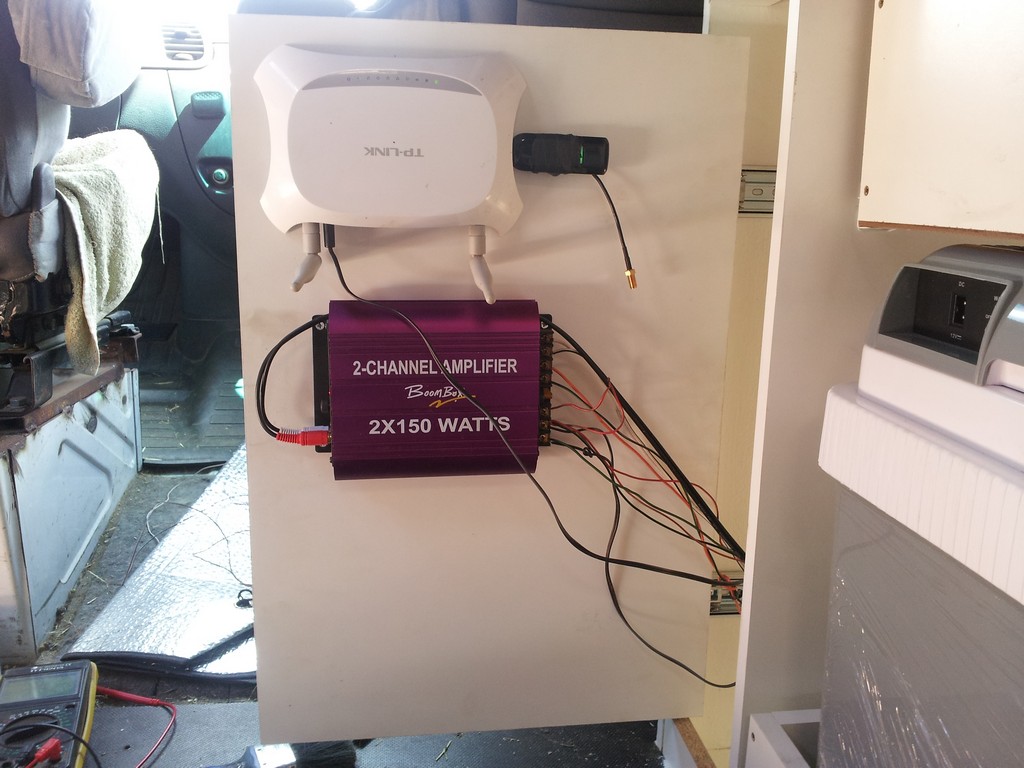
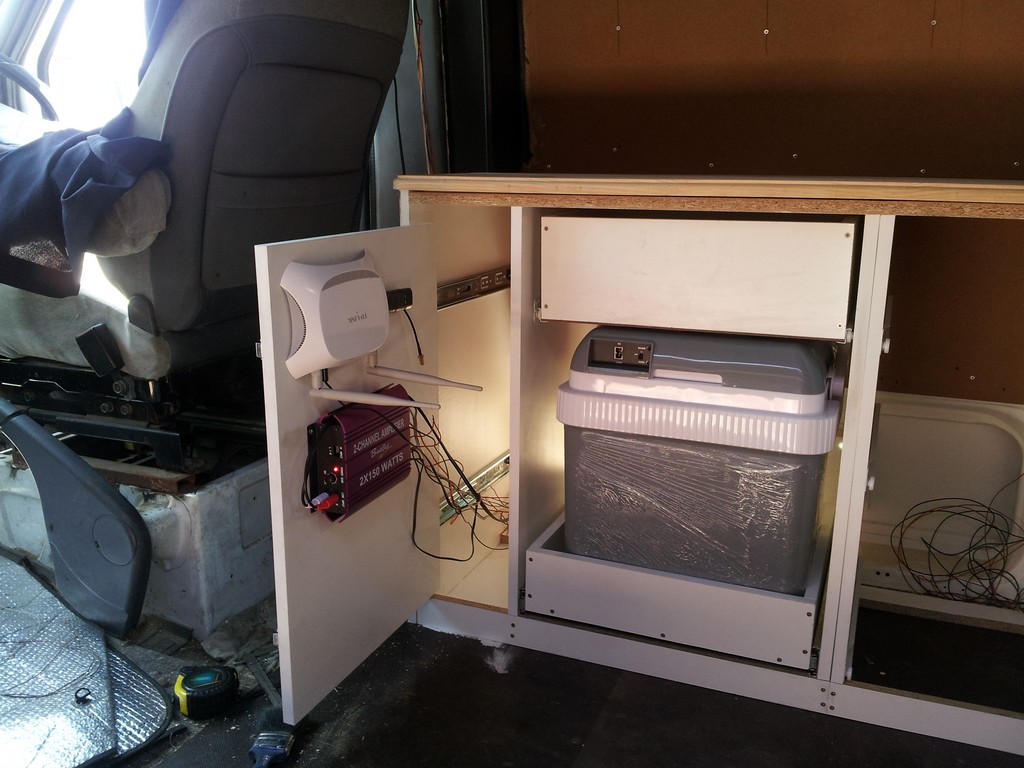
Plumbing and Electrical
Toilet: Having decided I would normally be using campsites with "facilities", I tried to figure out how to make a toilet compartment for a port potty as small as possible (this would be used only for emergencies). In many camper conversions, the volume taken up by "washrooms" seems out of proportion to the time spent in there.
Water: I used a simple system of a 25 liter water container stored under the sink. It has a "drop in" submersible water pump to bring the water up to the sink tap when switched. The waste water runs straight out underneath the van.
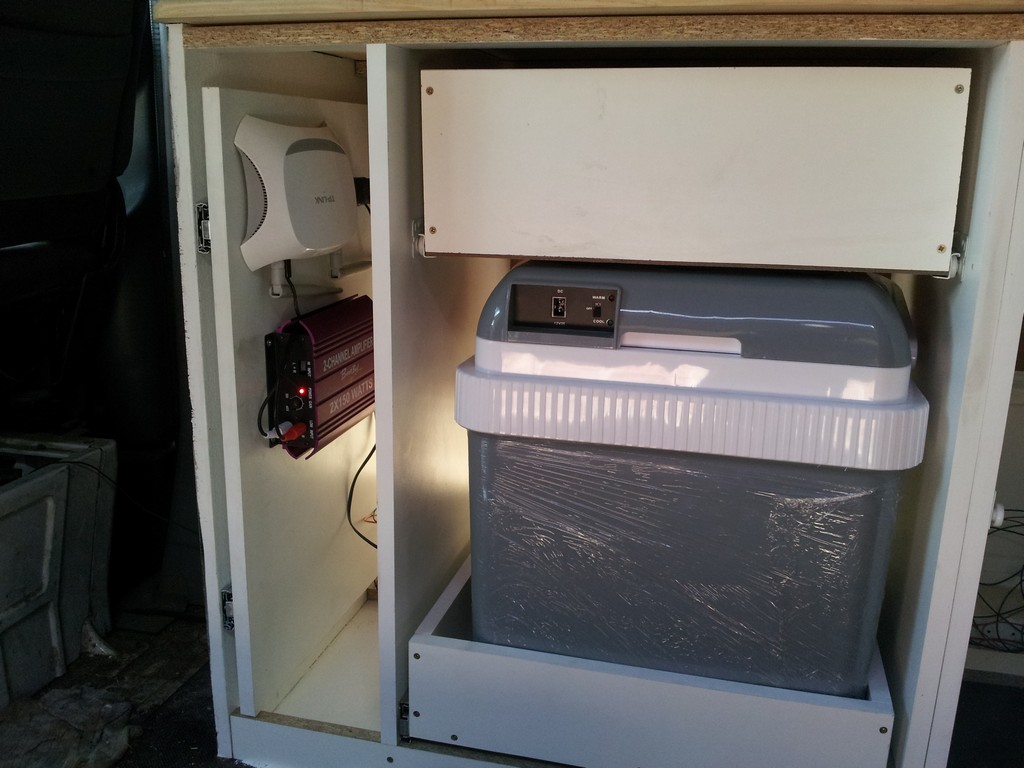
Lighting: I used LED strip lights for all the under counter lighting, mini bar and to light up the step. I modified two domestic swivel spotlights to accept LED light sockets for the back area. In total, I used about 3,5 meters of LED strip lighting and 2 LED spotlights. With all the lights on, I only draw 1,5 Amps. As a comparison, the average "festoon bulb" courtesy light used in most vehicles draws about 1 Amp.
Fridge: I wasn't prepared to spend a few thousand on a 12V fridge so I went for a simple 12V thermoelectric cooler. They don't work that great and are very power hungry - they will drain your battery overnight. I've wired it up so it only runs on mains power. I think of it more as a portable cooler box that I can take lug around when I walk down to the beach.
Entertainment: I have a 10 inch flip down Tablet, 27 inch LCD TV, Satellite Receiver (DSTV), WiFi router (with a 3G external "Poynting" antenna) and an audio Amplifier.
Back-up Power: Under the two bench seats, I have a 12V backup battery on the one side and a small Petrol Generator under the other.
Floor & Carpeting
I used a hard-wearing office carpet which was glued down with a contact adhesive.